2024/03/26
With the boom in flat screen TVs, high-performance projectors, and home audio equipment, the electronics needed to create home theaters with large screens and powerful speakers have become both affordable and readily available for casual streamers and film enthusiasts alike. Learning to set up may seem hard at first, but one key thing that these newcomers might not know is that their TVs and projectors may already be equipped with the feature that will make creating their own home theater an even smoother and more straightforward process, and by that, we are talking ARC.
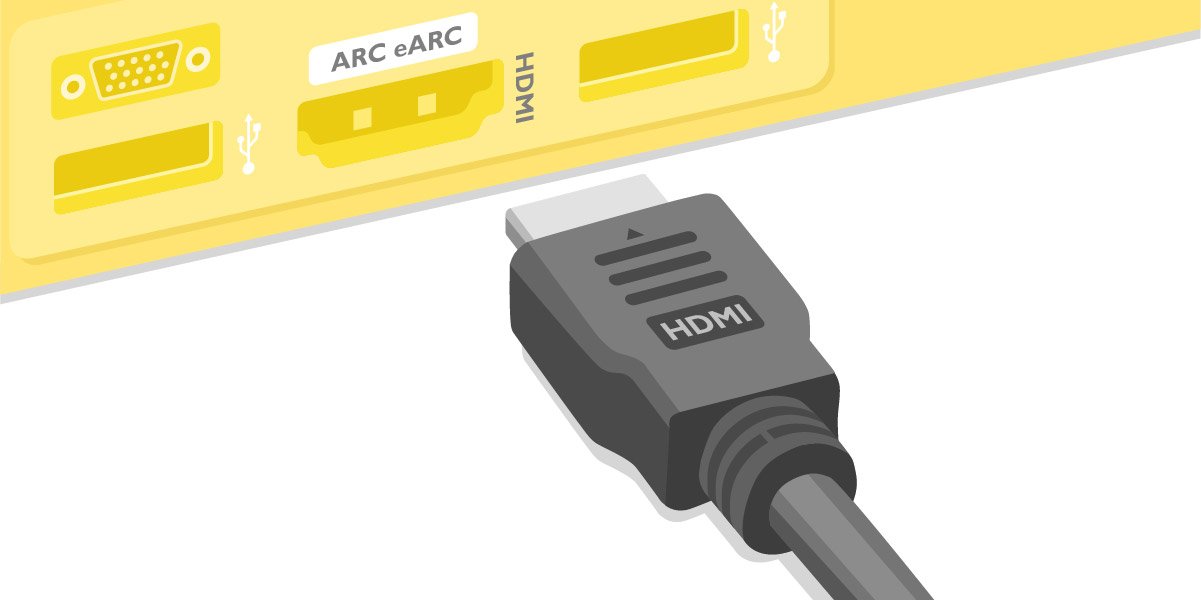
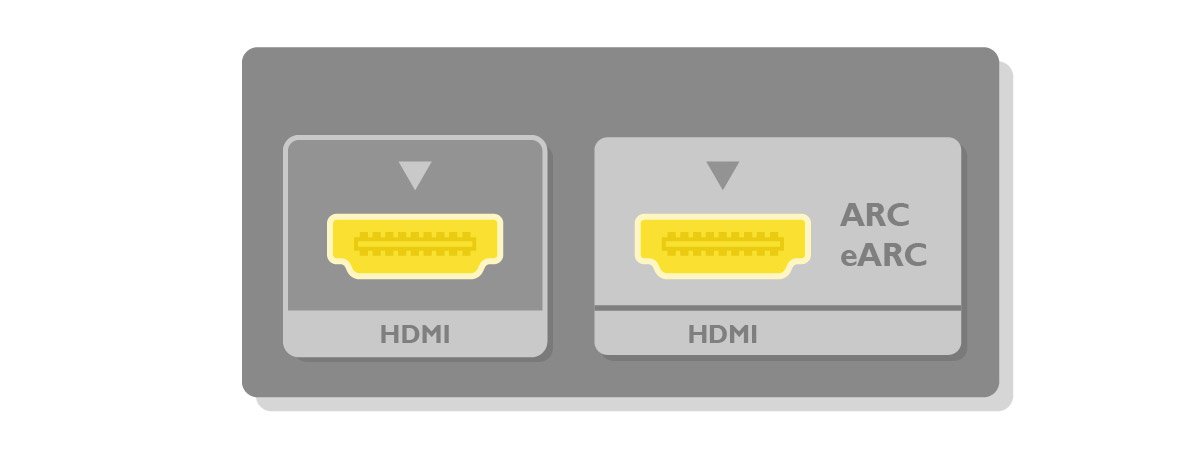
ARC, or Audio Return Channel, is the feature that allows any HDMI port with ARC to both send and receive audio signals for cinema-quality sound. On TVs or projectors, this functionality allows it to be connected to any compatible sound system or soundbar and easily output the audio from the TV or projector’s native content. In an alternative scenario, TVs or projectors can pass on full resolution audio from connected devices such as set-top box, gaming consoles, or Blu-Ray players. Read on and learn how to connect with four easy steps.
This functionality greatly reduces the number of connections needed to setup a home theater, since a single connection between a TV/projector and a soundbar can deliver audio signals from all connected sources to the soundbar, and two, it consolidates and simplifies the type of connections used, since a user will only need to purchase HDMI cables to connect all their devices. Lastly, it allows the home theater to take advantage of the speed and bandwidth of the HDMI interface to support audio formats, such as Dolby Atmos, which other type of connections might not.
As mentioned above, most TVs and projectors on the market in the last decade do feature at least one HDMI port with ARC capabilities, but as the consumer electronics market evolves at the pace that it has these past few years, the next generation of ARC has already arrived with eARC, or Enhanced Audio Return Channel. eARC is the latest iteration of ARC that implements the most recent HDMI 2.1 specifications to further bolster its already high bandwidth and speed. With this added capacity, eARC can deliver even higher quality audio formats such as Dolby TrueHD and DTS-HD Master to keep it in step with the advances made on the video side of the home theatre equation. Thus, with eARC, you are able to match the next-level visuals of your 4K 120” projector with sound that is able to recreate object-based effects and true three-dimensional sound for the full cinematic experience you expected to have.
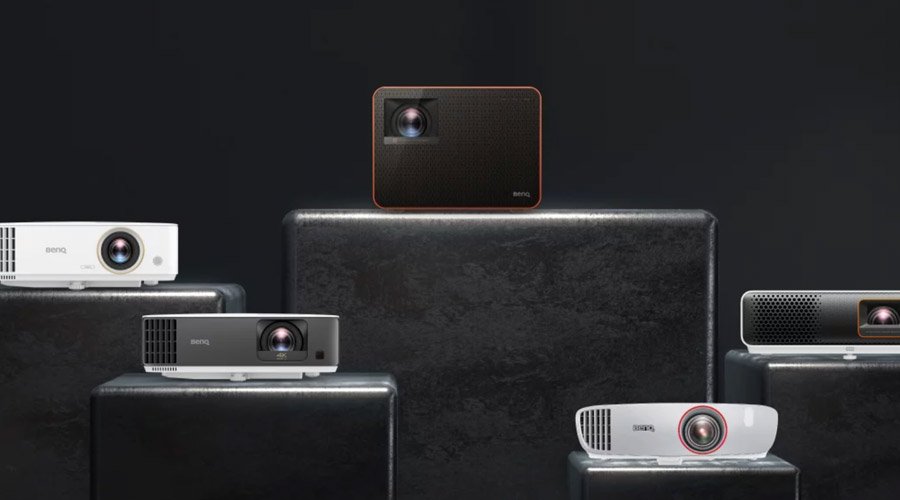
In terms of projectors, BenQ offers a wide array of models that support ARC/eARC. You can refer to the table below for a list of projectors and their audio compatibility:
Projector | ARC | eARC | Dolby Atmos |
Projector X3100i / X500i / X300G / TK700STi / TK700 | ARC Yes (5.1 channel) | eARC Yes (7.1 channel) | Dolby Atmos Yes |
Projector TH685i / GP500 | ARC Yes (5.1 channel) | eARC NA | Dolby Atmos NA |
Projector TK850i / TK810 / HT3550 / HT3550i / GS50 | ARC Yes (2 channel) | eARC NA | Dolby Atmos NA |
Projector TH685P / GV31 | ARC NA | eARC NA | Dolby Atmos NA |
●The convenience that ARC/eARC brings can be easily achieved through 4 instructional steps below on how to connect your audio-video equipment:
*note: Use only certified High-Speed HDMI Cables with Ethernet or Ultra-High-Speed HDMI cables for all the connections below.
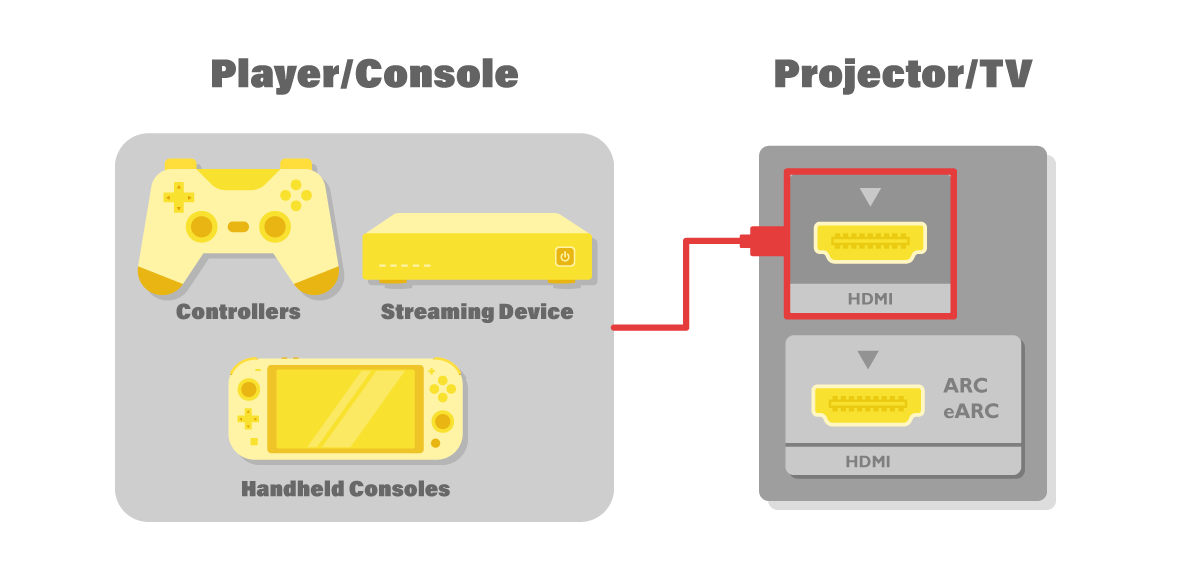
Step 1: Connect your video devices to the non-ARC HDMI-IN ports on your projector.
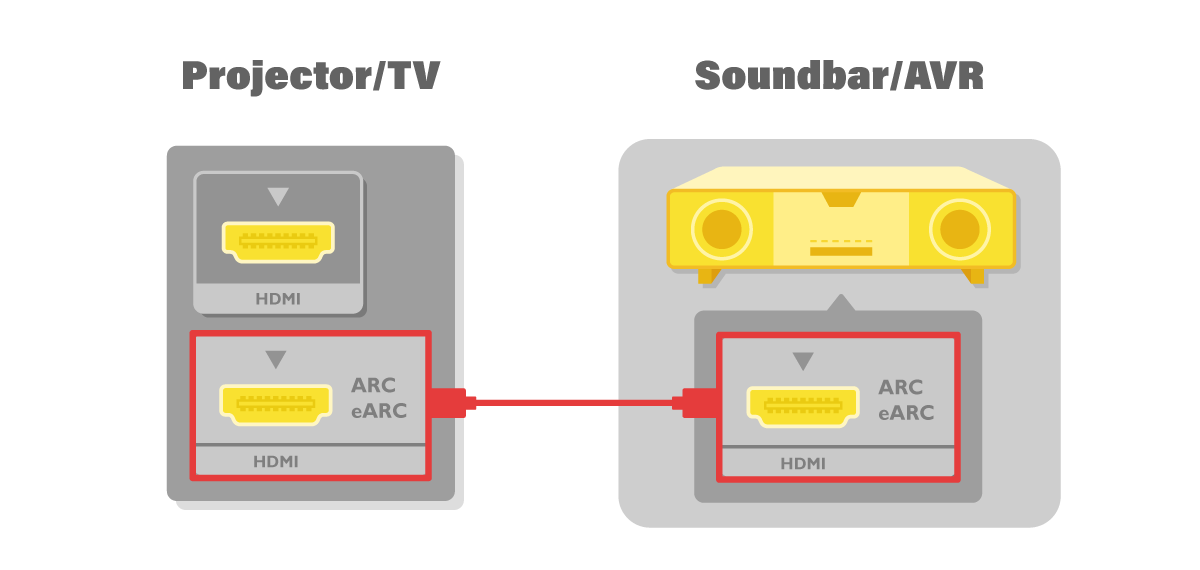
Step 2: Connect the HDMI port labelled “ARC” on your projector to the HDMI port labelled “ARC” on your soundbar/AVR.
Step 3: Enable RAW+ in the settings menu of your projector.
*note: Enable RAW on projectors that support only ARC for audio compatibility
●Follow Projector Menu → Audio → Audio Output → Switch to Audio Return+ or Audio Return, then look for Audio Output Format → Switch to RAW+ or RAW
Step 4: Enable CEC/ARC on your soundbar/AVR.
If you encounter any issues, make sure you try these following tips:
The soundbar/AVR doesn’t produce any sound
• Check to see if the HDMI cables are connected to the correct port. (Step 1 and 2 mentioned above)
• Check to see if the cables used have any designated direction they need to be connected in.
The sound is choppy
• Check the version and/or quality of the HDMI cables used. Use only certified High-Speed HDMI Cables with Ethernet or Ultra-High-Speed HDMI cables.
Unable to produce Dolby Atmos audio
• Check the settings menu of the projector (Step 3 mentioned above)
• Check to see if your soundbar/AVR supports Dolby Atmos.
• Check to see if you are using certified High-Speed HDMI Cables with Ethernet or Ultra-High-Speed HDMI cables.
Once everything is properly set up and you can enjoy your home theater as you wanted, you’ll find that BenQ’s projectors provide even more HDMI-related features that make your experience easier and more intuitive, including the ability to power on and off each connected device (via the CEC protocol) as well as control the volume on your soundbar directly from your projector. This means that with BenQ projectors, not only is setting up convenient, but controlling and enjoying what you see and hear becomes a breeze.
{{title}}
We will notify you when the product becomes available
{{notifyMeNote}}
We will send you an email once the product become available . Your email will not be shared with anyone else
Sorry, our store is currently down for maintenance.We should be back shortly. Thank you for your patience!
The requested qty is not available
The requested qty exceeds the maximum qty allowed in shopping cart
Product that you are trying to add is not available.