How to Video Conference with InstaShow®?
- BenQ
- 2021-05-12
In a business world where video conferencing has become commonplace, it has become vital for employers to find ways to facilitate the process and make the entire exercise more efficient. A main area of concern is the increased Internet traffic that results from video conferencing, the effect it has on the smoothness of the conference itself, and the overall strain it adds on a company’s broadband, since with most virtual meetings each participant requires their own individual connection that eats up valuable bandwidth. For businesses that utilise BenQ’s InstaShow® Wireless Presentation System in their conference rooms though, the solution to this problem is already at hand.
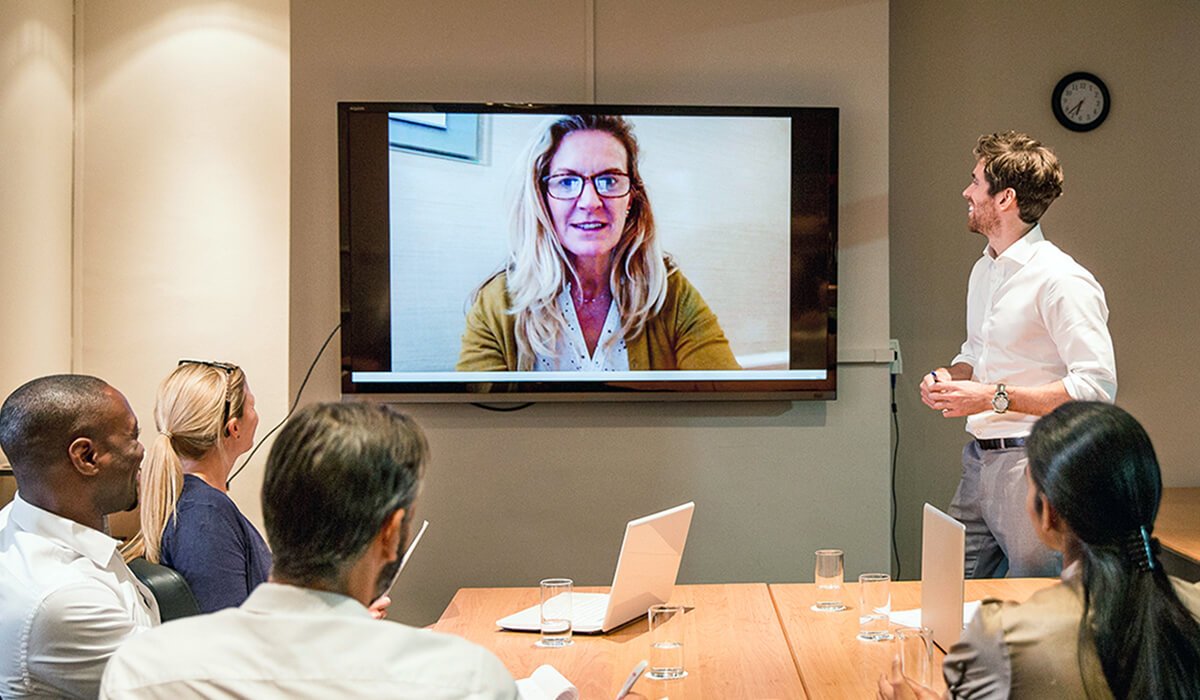
Via a few simple steps, InstaShow® can be fully integrated with the most popular video conferencing apps (e.g. Zoom) to allow multiple participants in a shared conference space to broadcast content from their PCs (using an InstaShow® button) to remote participants while using only a single Internet connection for the entire room. This allows the video conference to go on seamlessly while ensuring the rest of your company’s Internet connections aren’t hampered. To do so just follow the instructions in this article:
Before you can begin video conferencing with InstaShow® you need to prepare the following items “for each room” involved in the video conference:
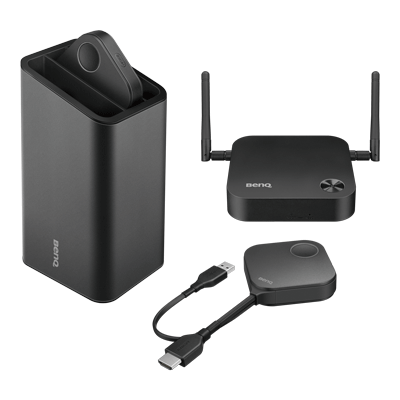
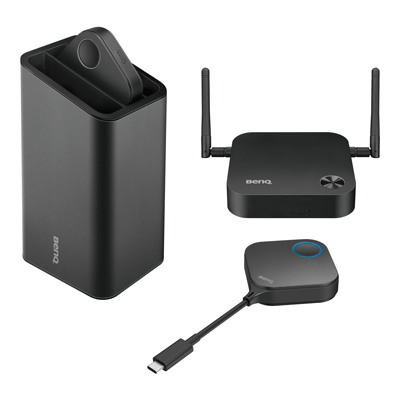
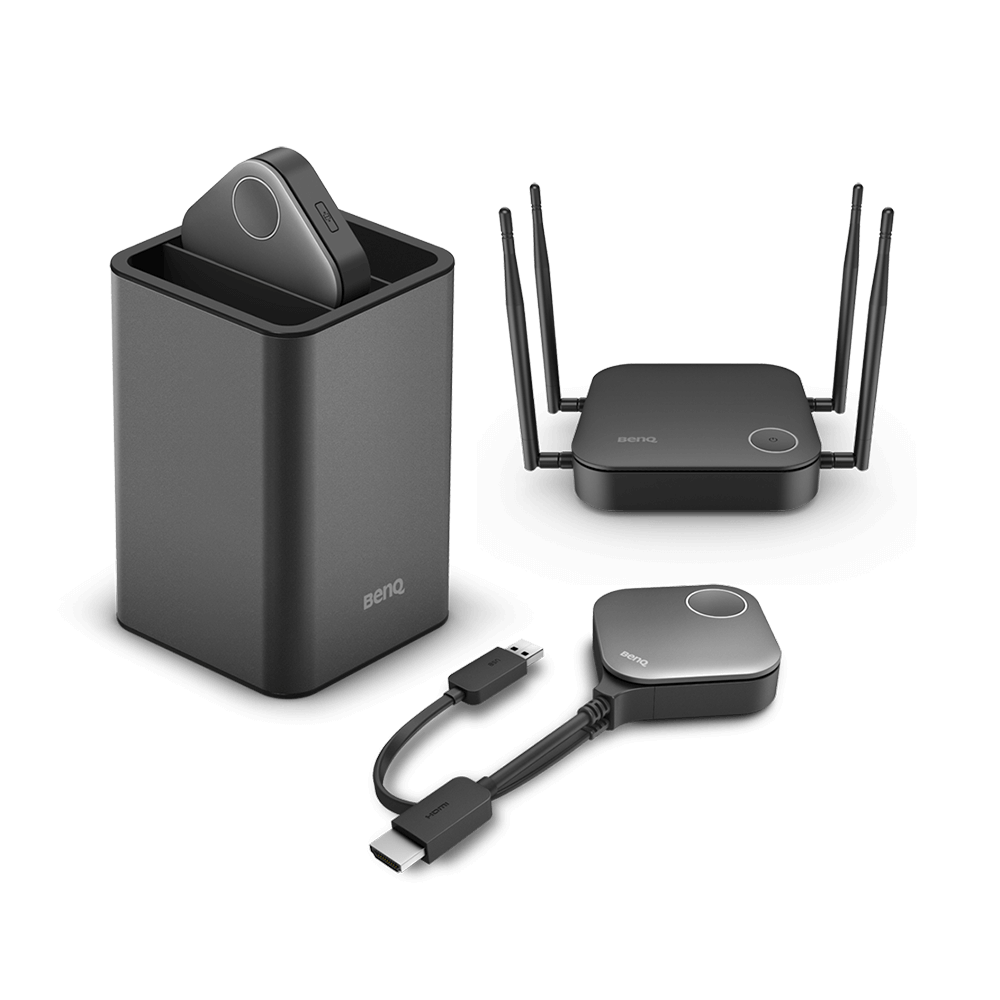
- A set of InstaShow® Host and Buttons
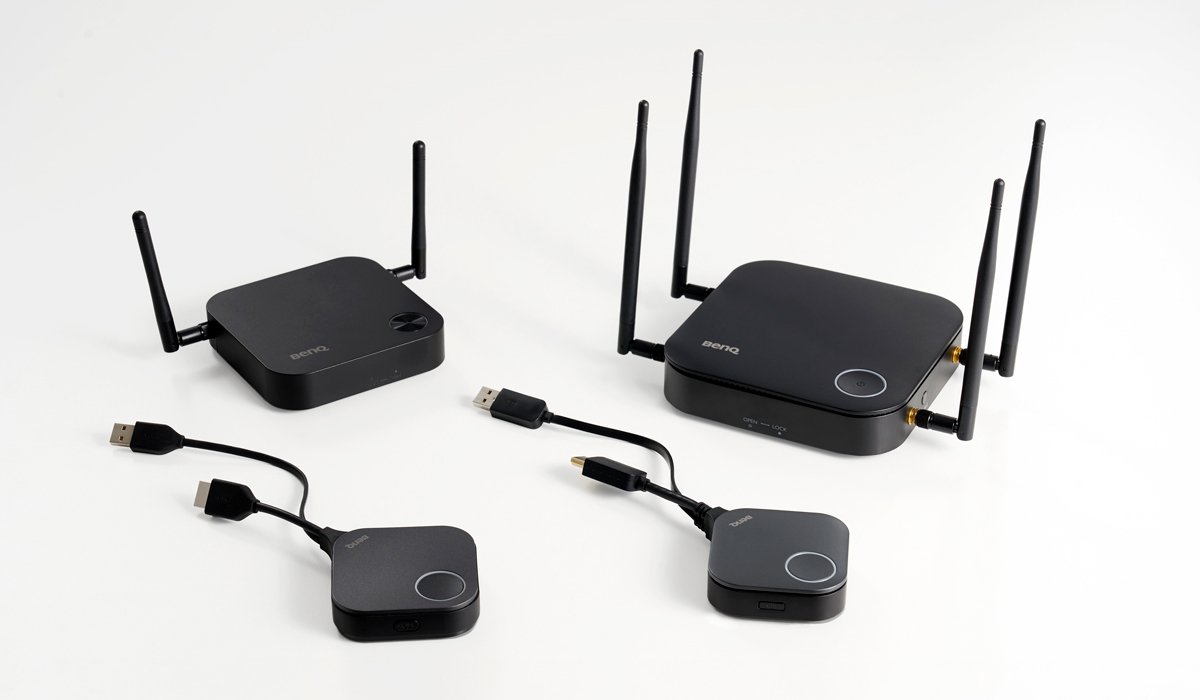
- A PC (to act as a host) with each of the following items
- Either a single USB-C port or at least two USB-A ports
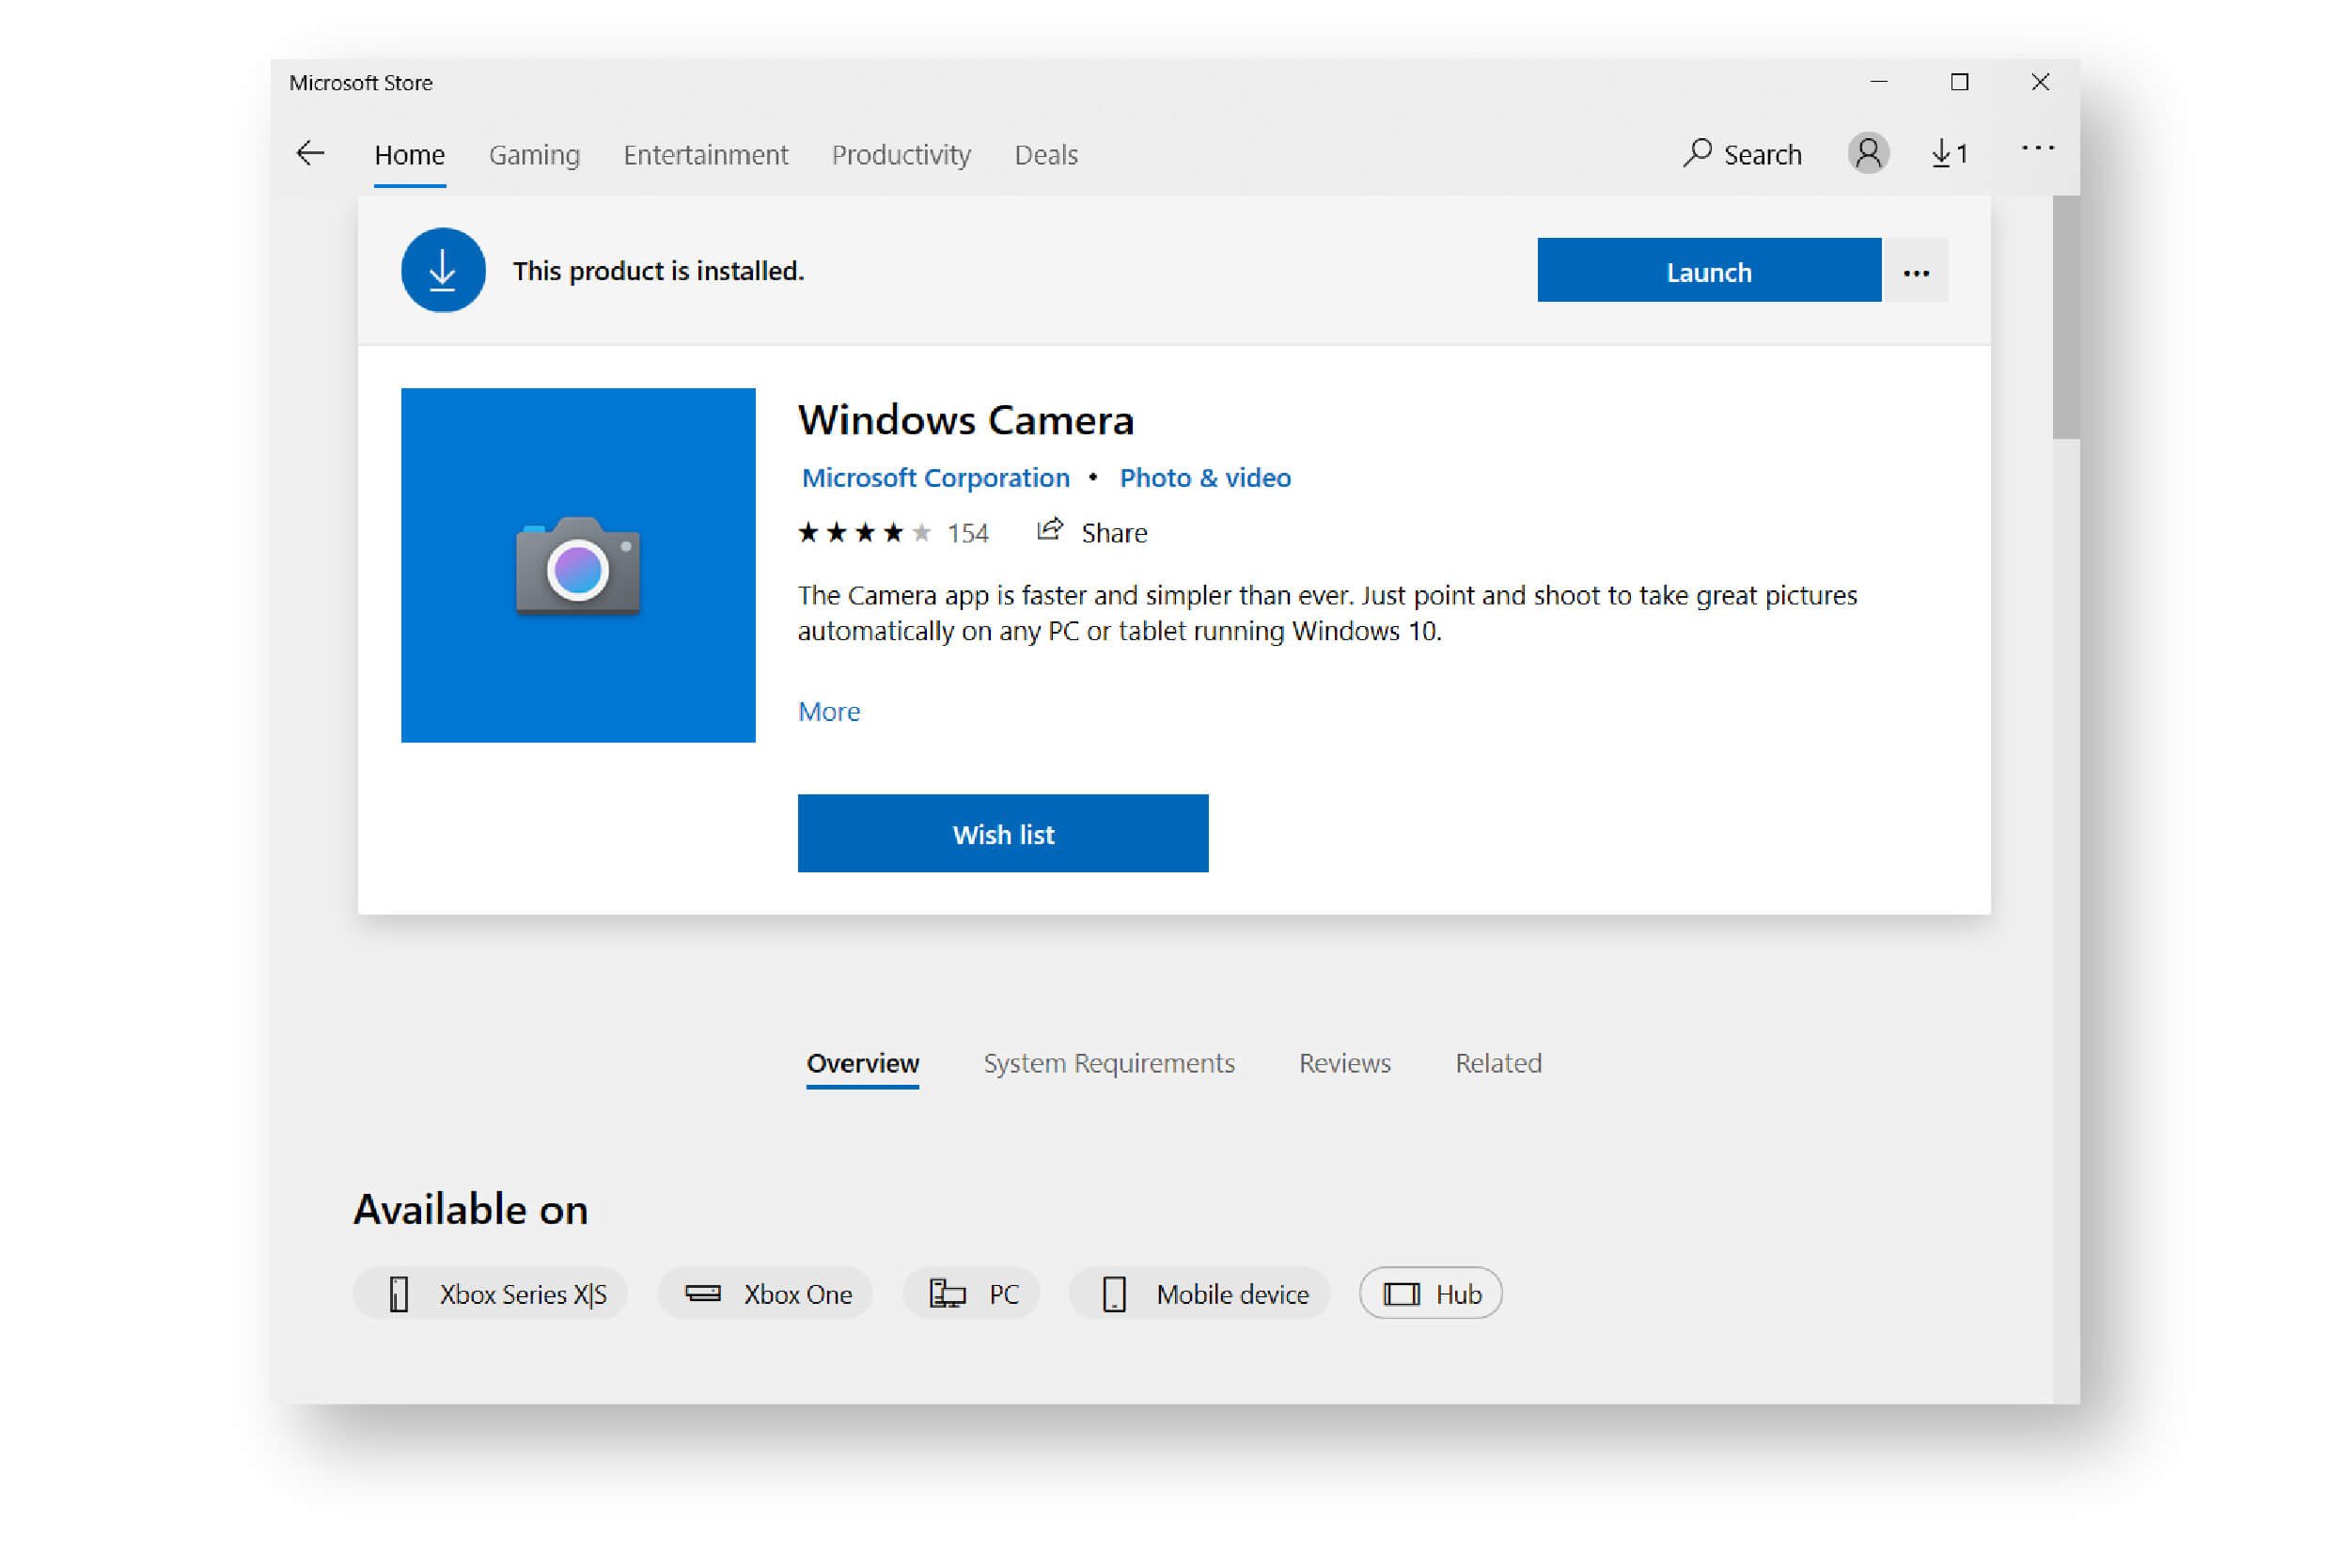
- Windows Camera app installed (available to download for free from the Microsoft Store
- An HDMI-to-USB / HDMI-to-USB-C video capture adapter
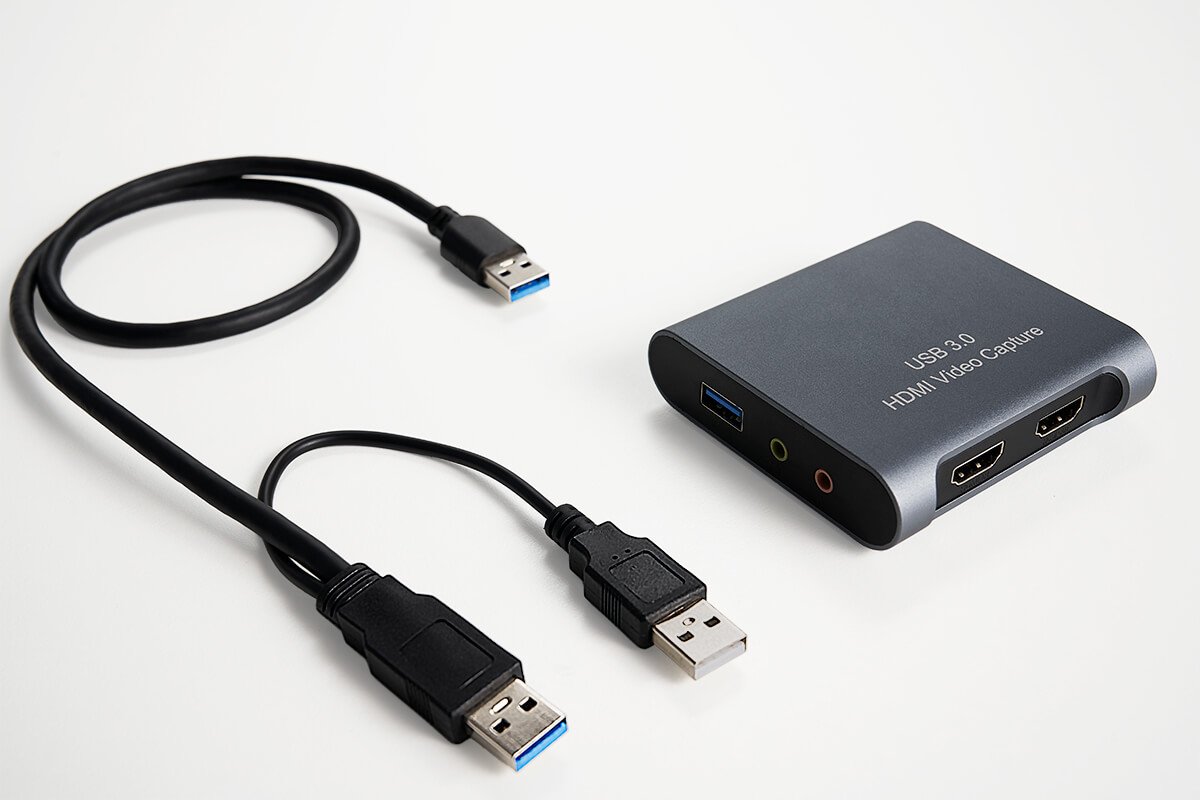
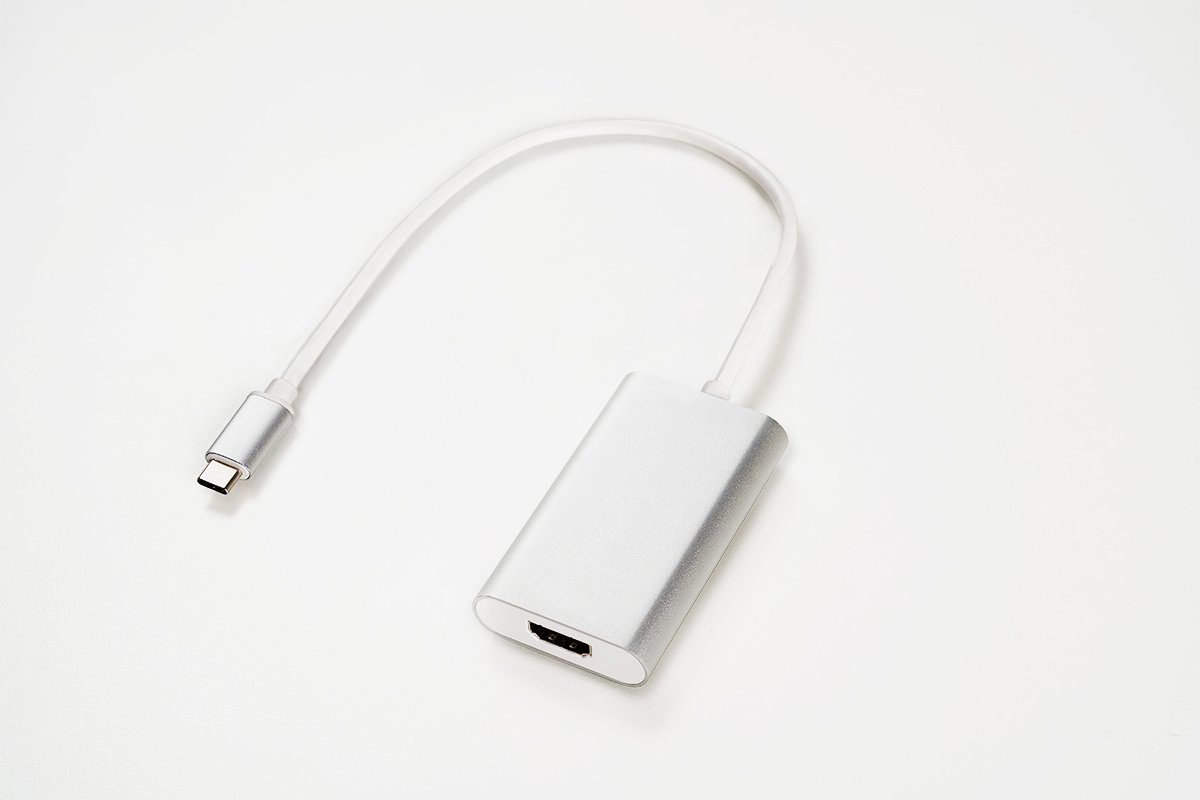
*NOTE 1: The USB type for the adapter should be based on the type of port(s) featured on the host PC.
*NOTE 2: To ensure the best image quality, a video capture adapter featuring USB version 3.0 or higher is suggested.
[Optional] A projector or large-screen display (to display any presentation material to the entire room)
[Optional] A Logitech external webcam (to capture/broadcast a video feed of the conference room)
*NOTE: Make sure all connections are made with the proper cables.
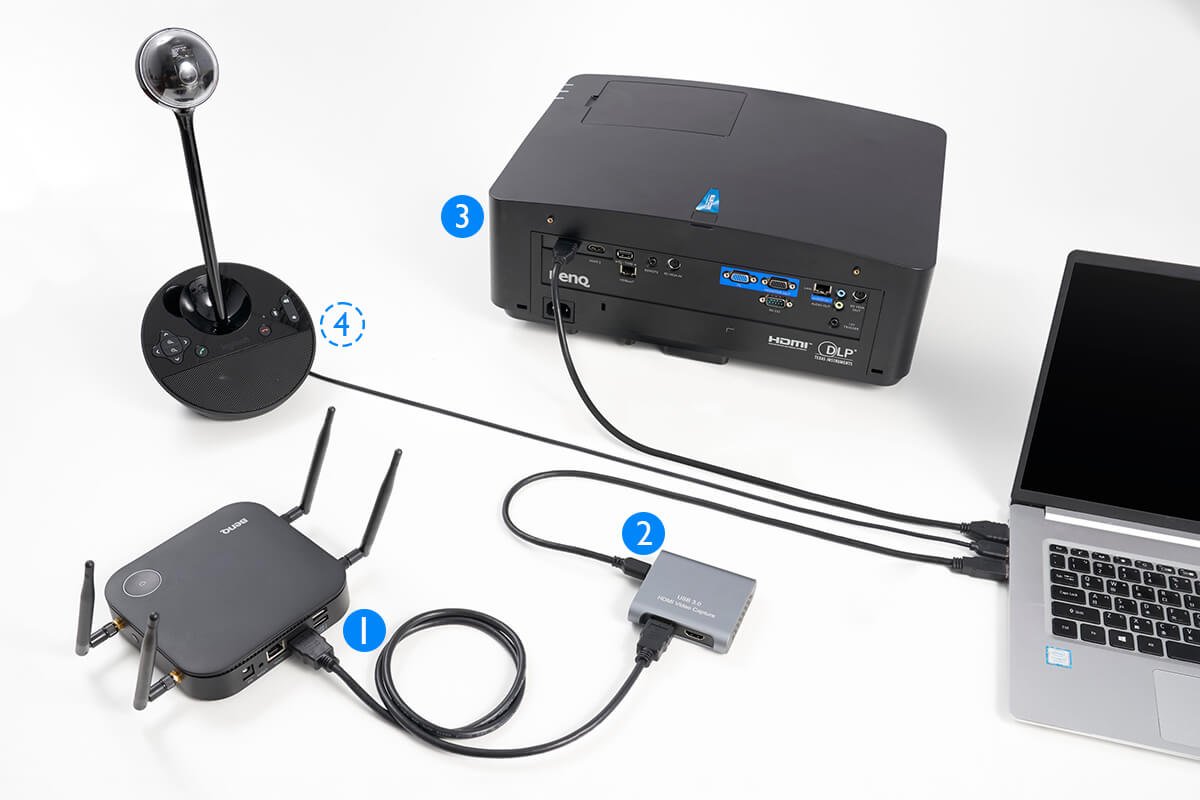
1. Connect the InstaShow® Host’s HDMI output port to the HDMI-to-USB video capture adapter’s HDMI input port.
2. Connect the HDMI-to-USB video capture adapter’s USB port to the USB port(s) on the host PC.
3. Connect the PC’s HDMI output port to the projector or display.
4. Connect the external webcam to the USB port on the host PC. (Optional)
5. Power on all devices.
When all the connections have been made, start the video conference by following the steps below on the host PC:
1. Launch the Windows Camera app.
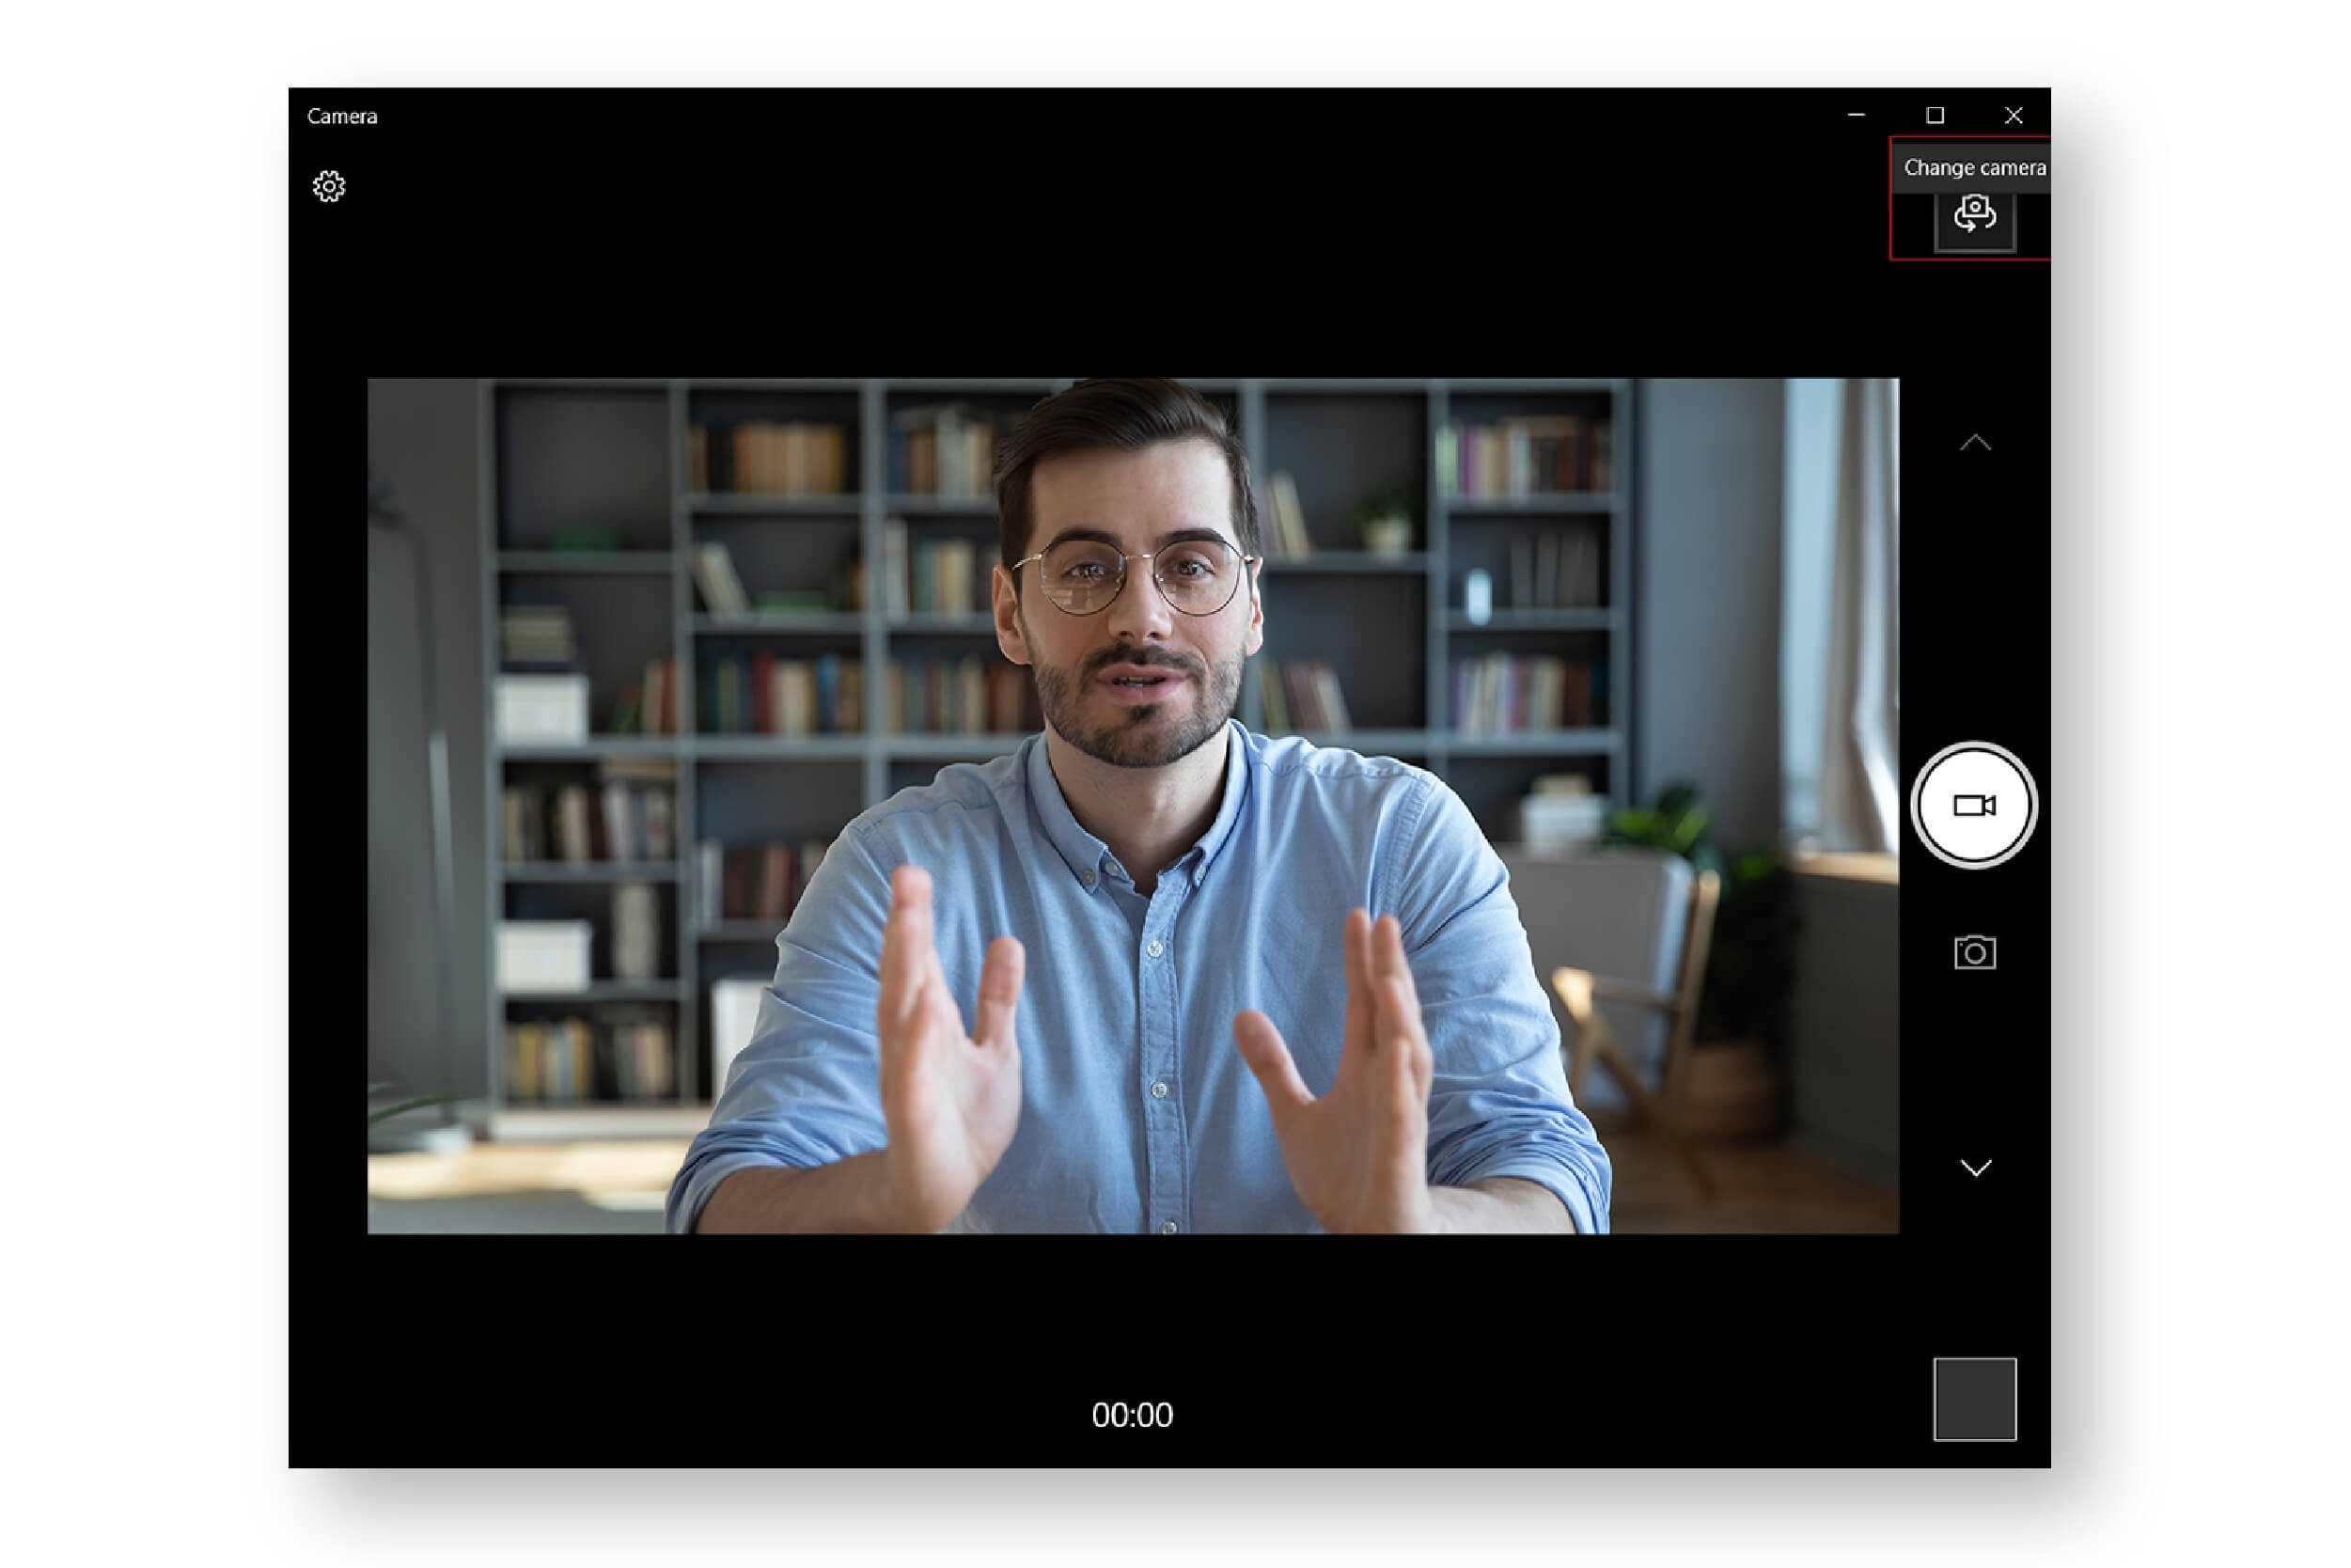
2. At first the app will show video from the laptop’s own webcam. Click the “Change camera” button (top-right corner) in the Windows Camera app and the app will switch to display the InstaShow® home screen.
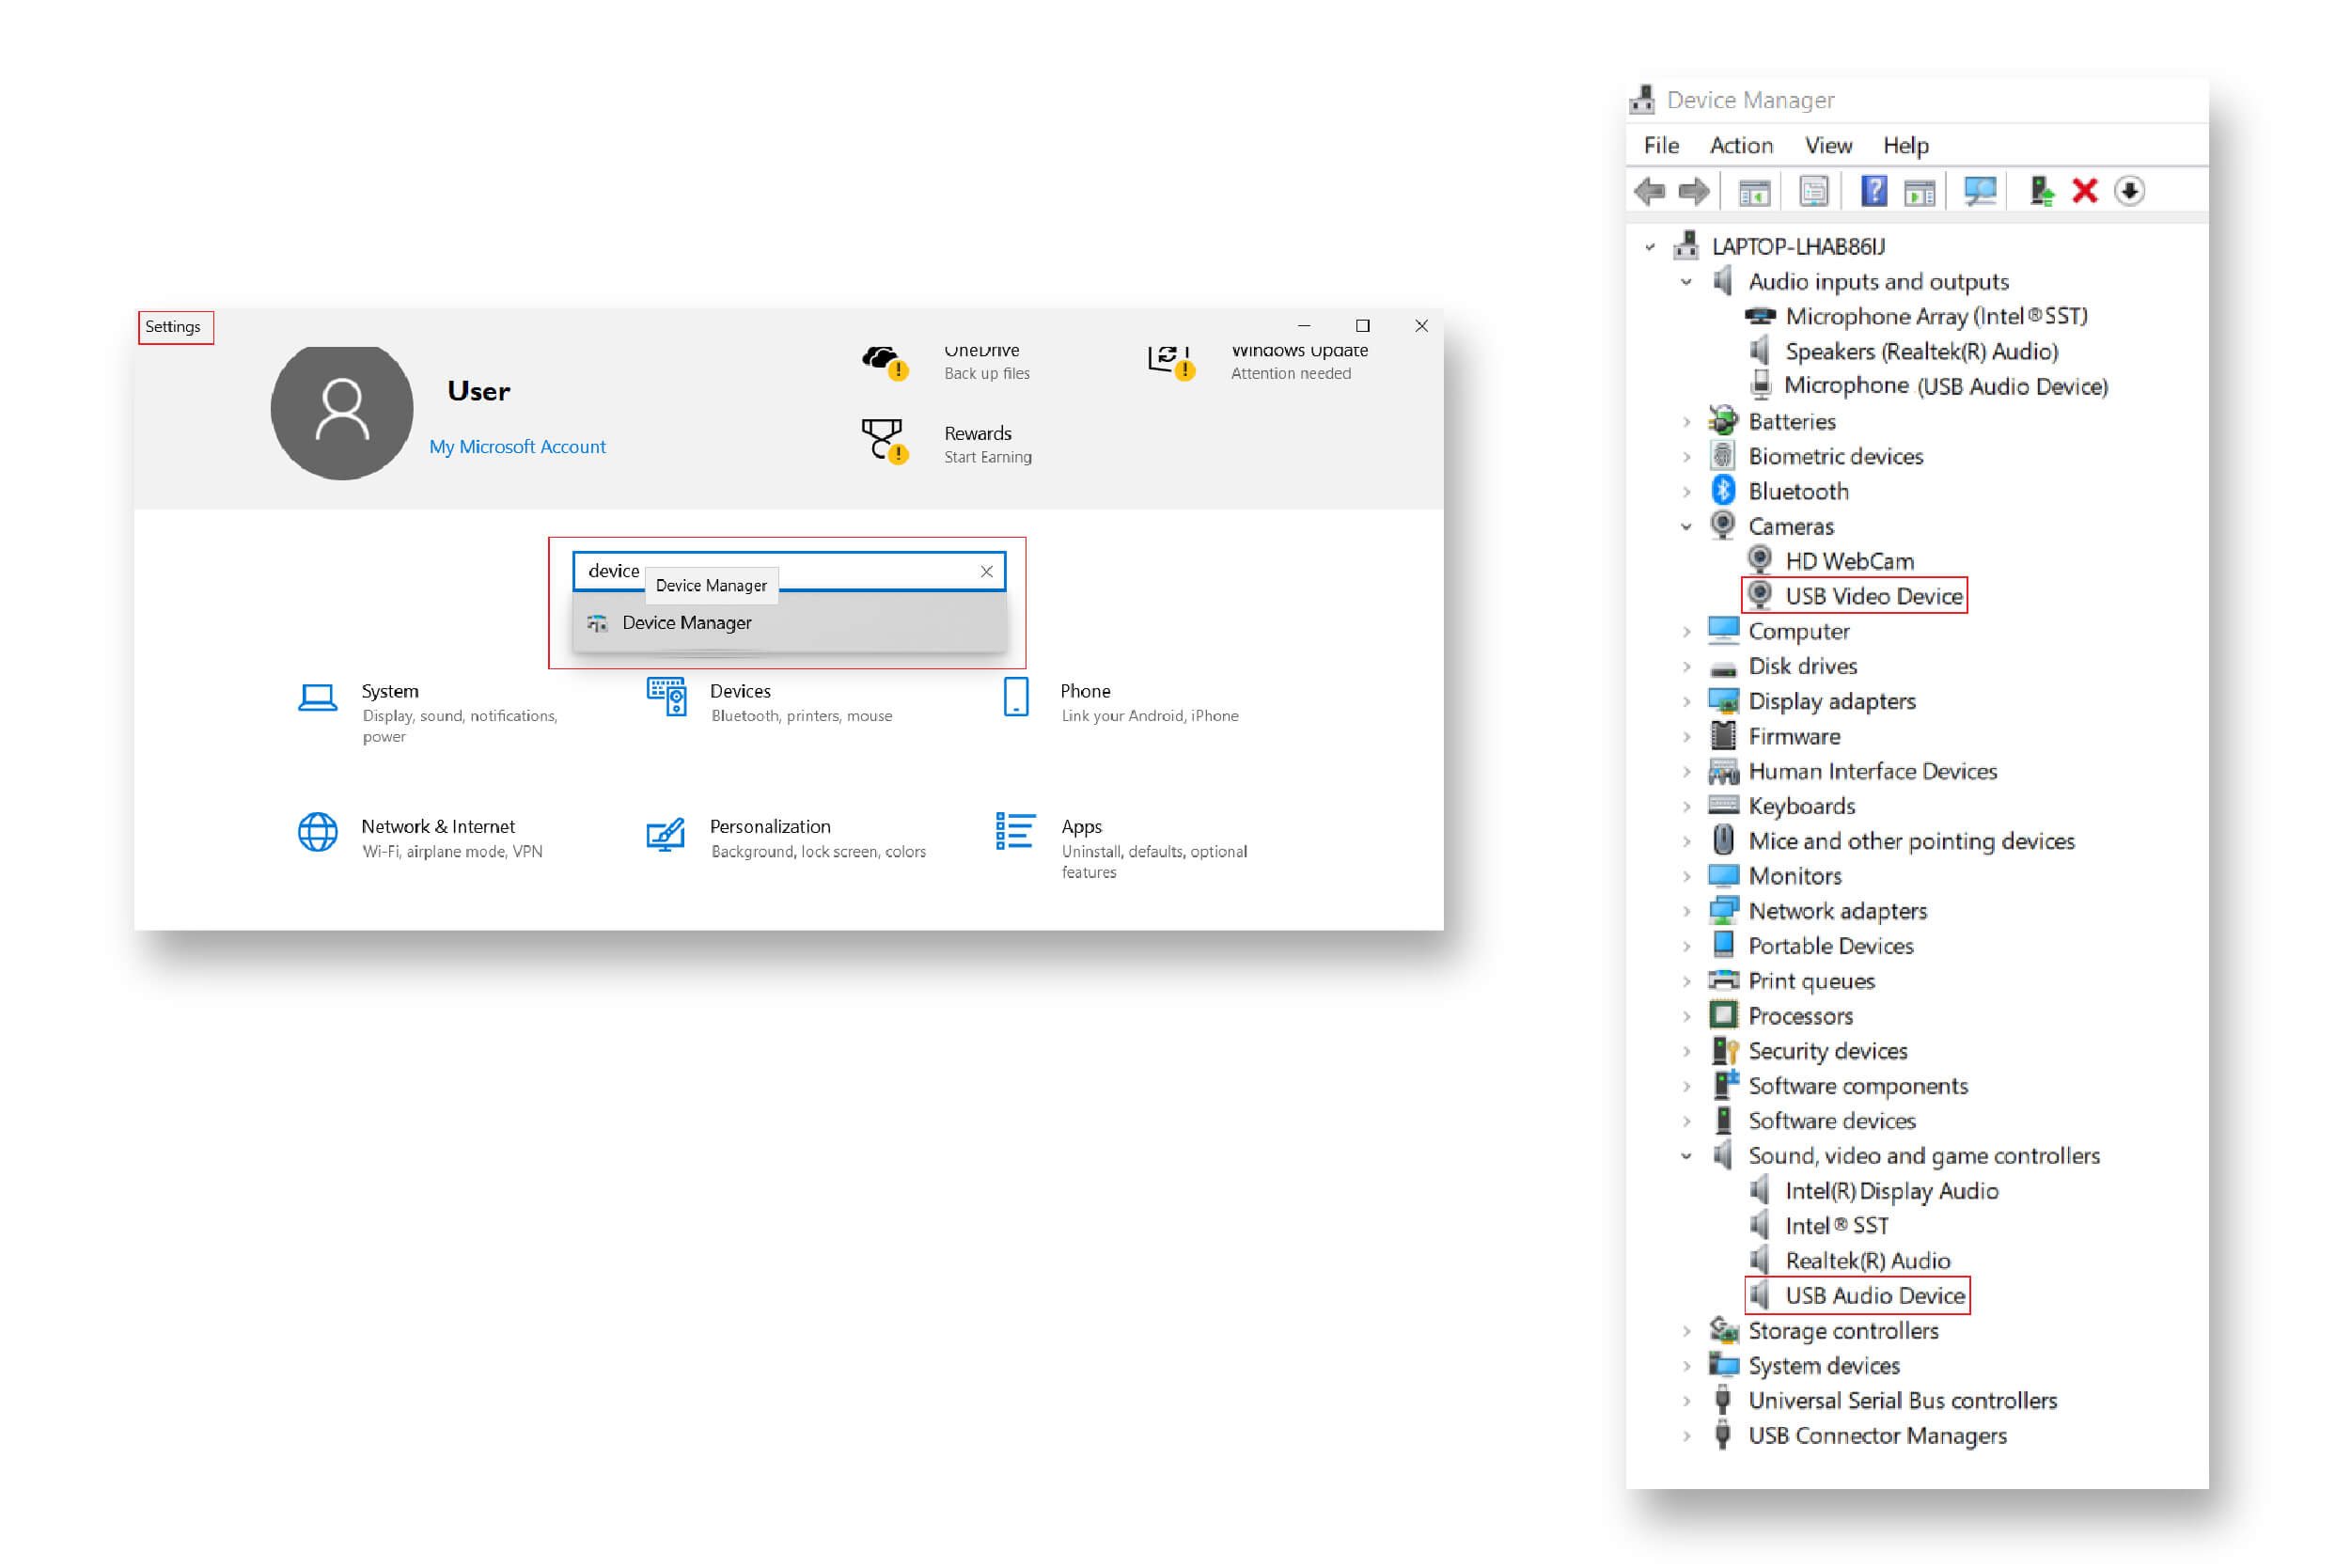
NOTE: If after you click “Change camera” and the InstaShow® home screen is still not displayed, open Windows’ Device Manager to check if Windows recognizes your video capture adapter.
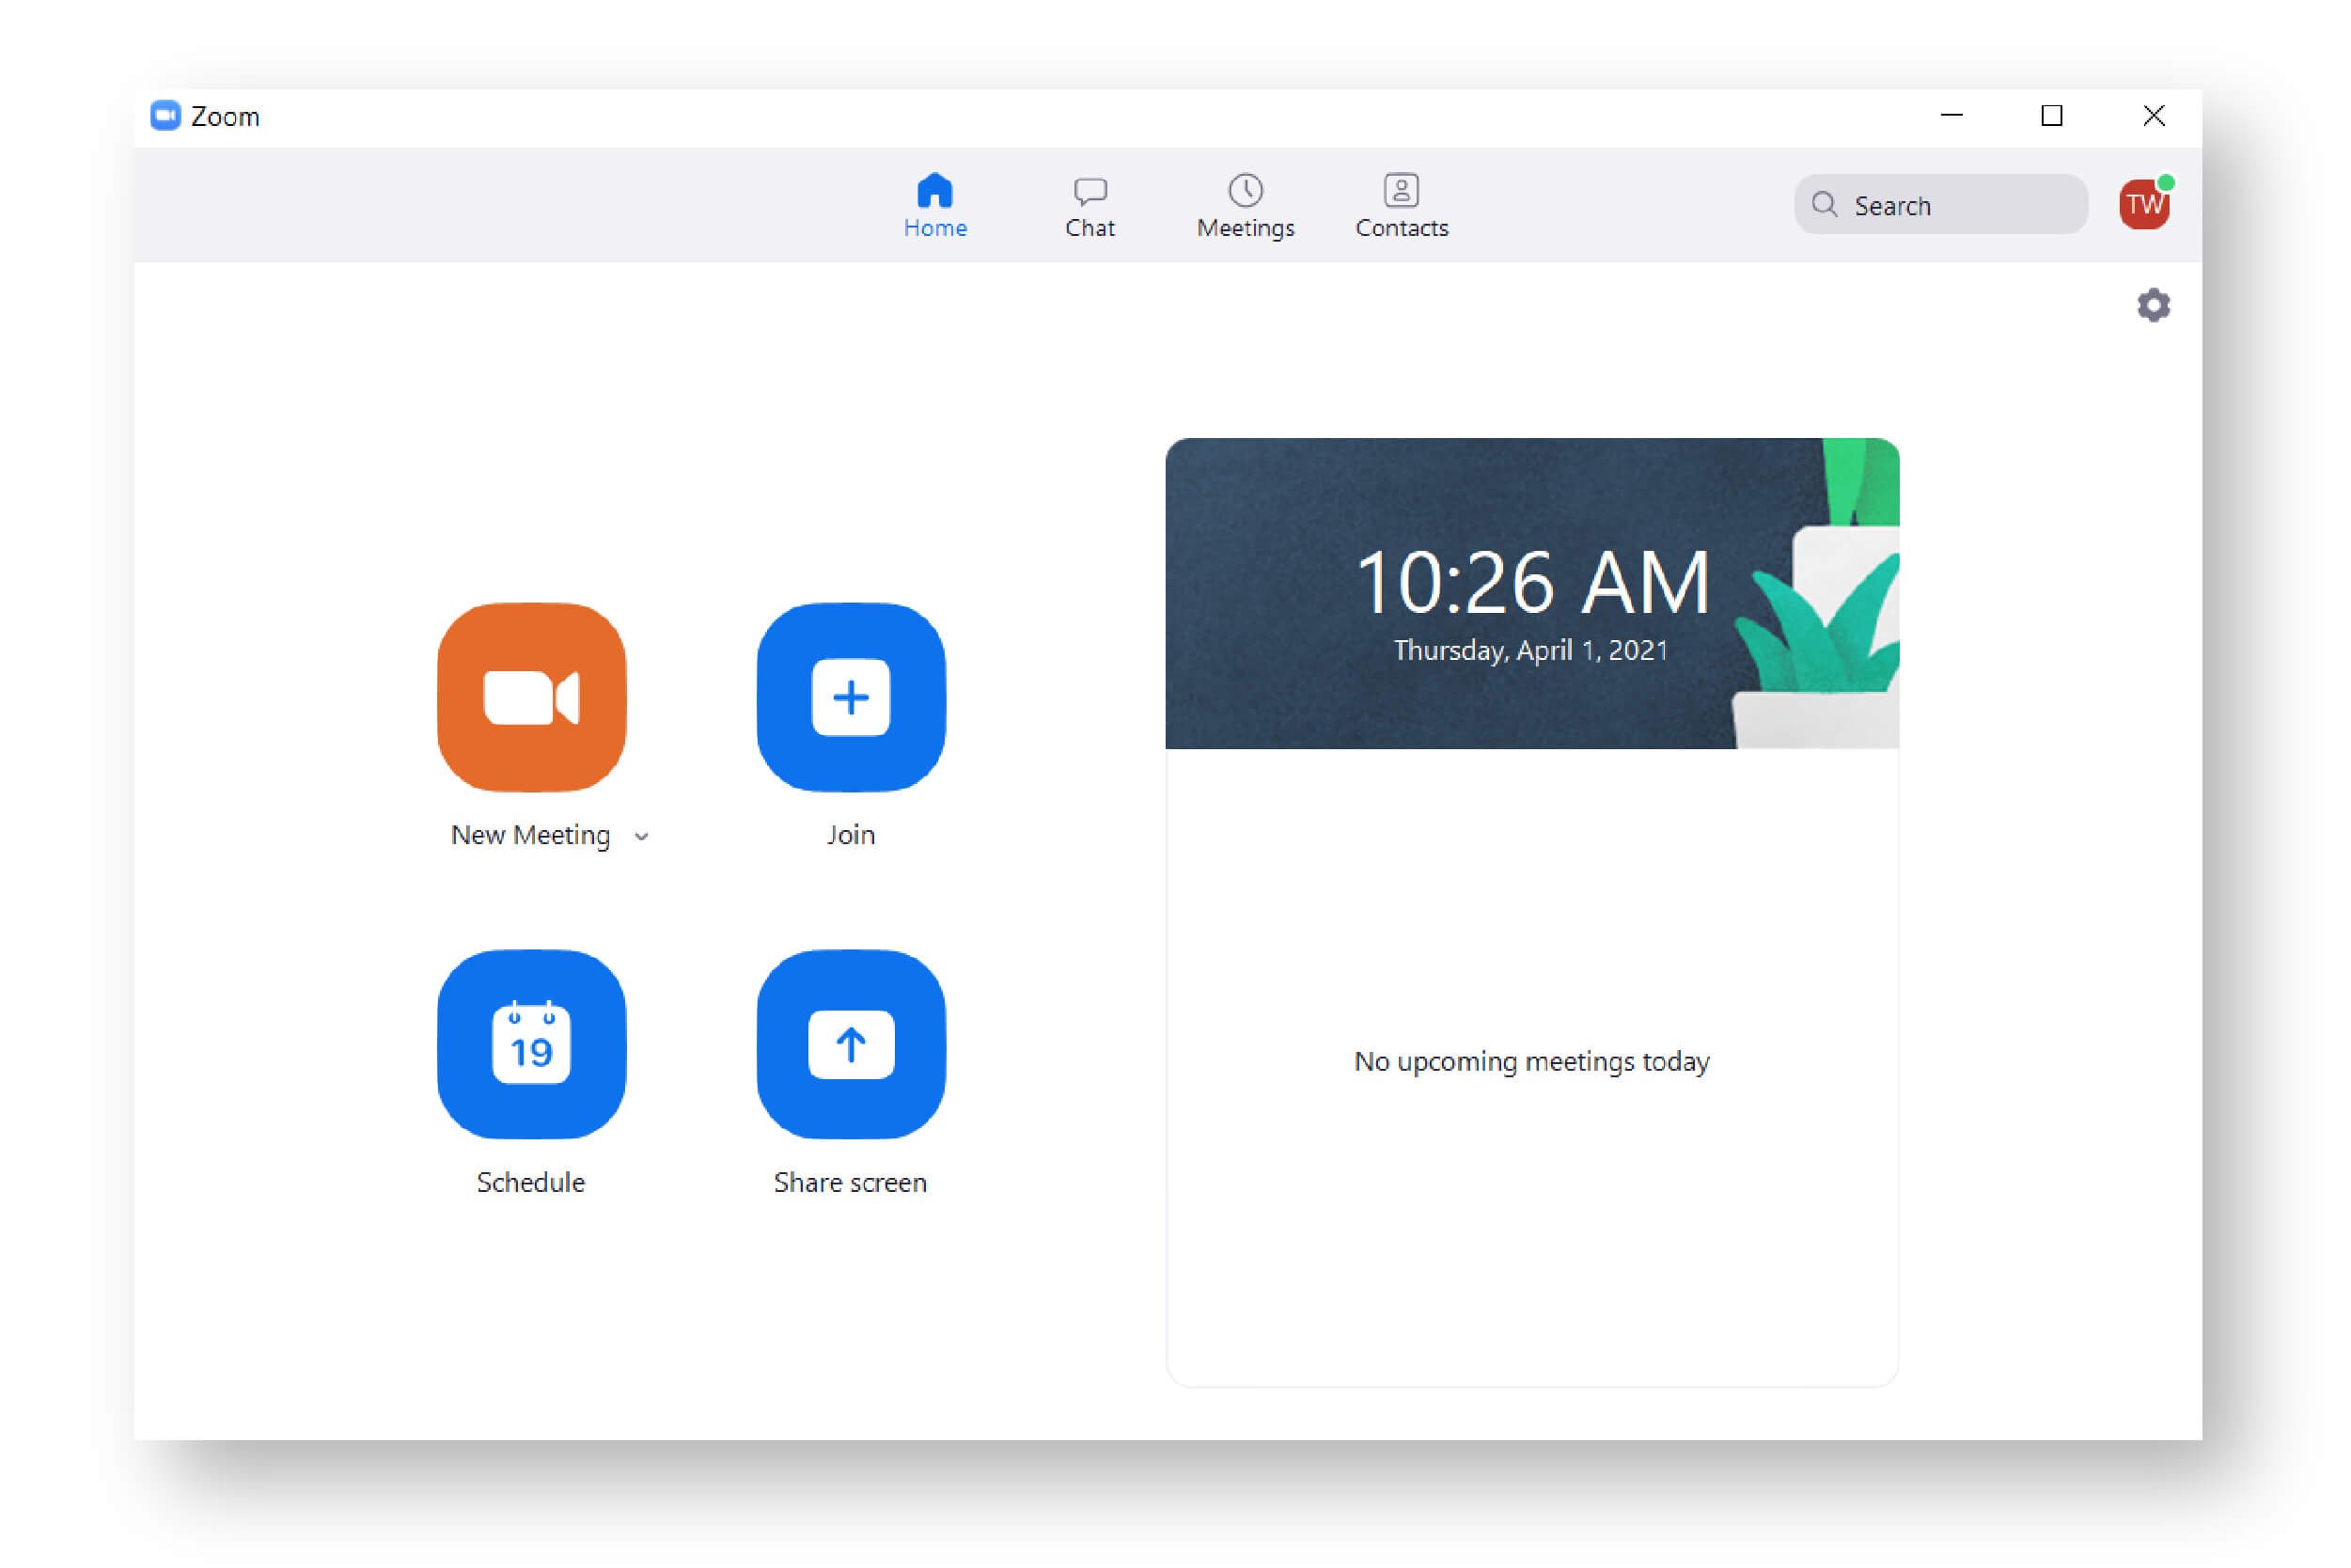
3. Click the “Share Screen” button/option in the video conferencing app.
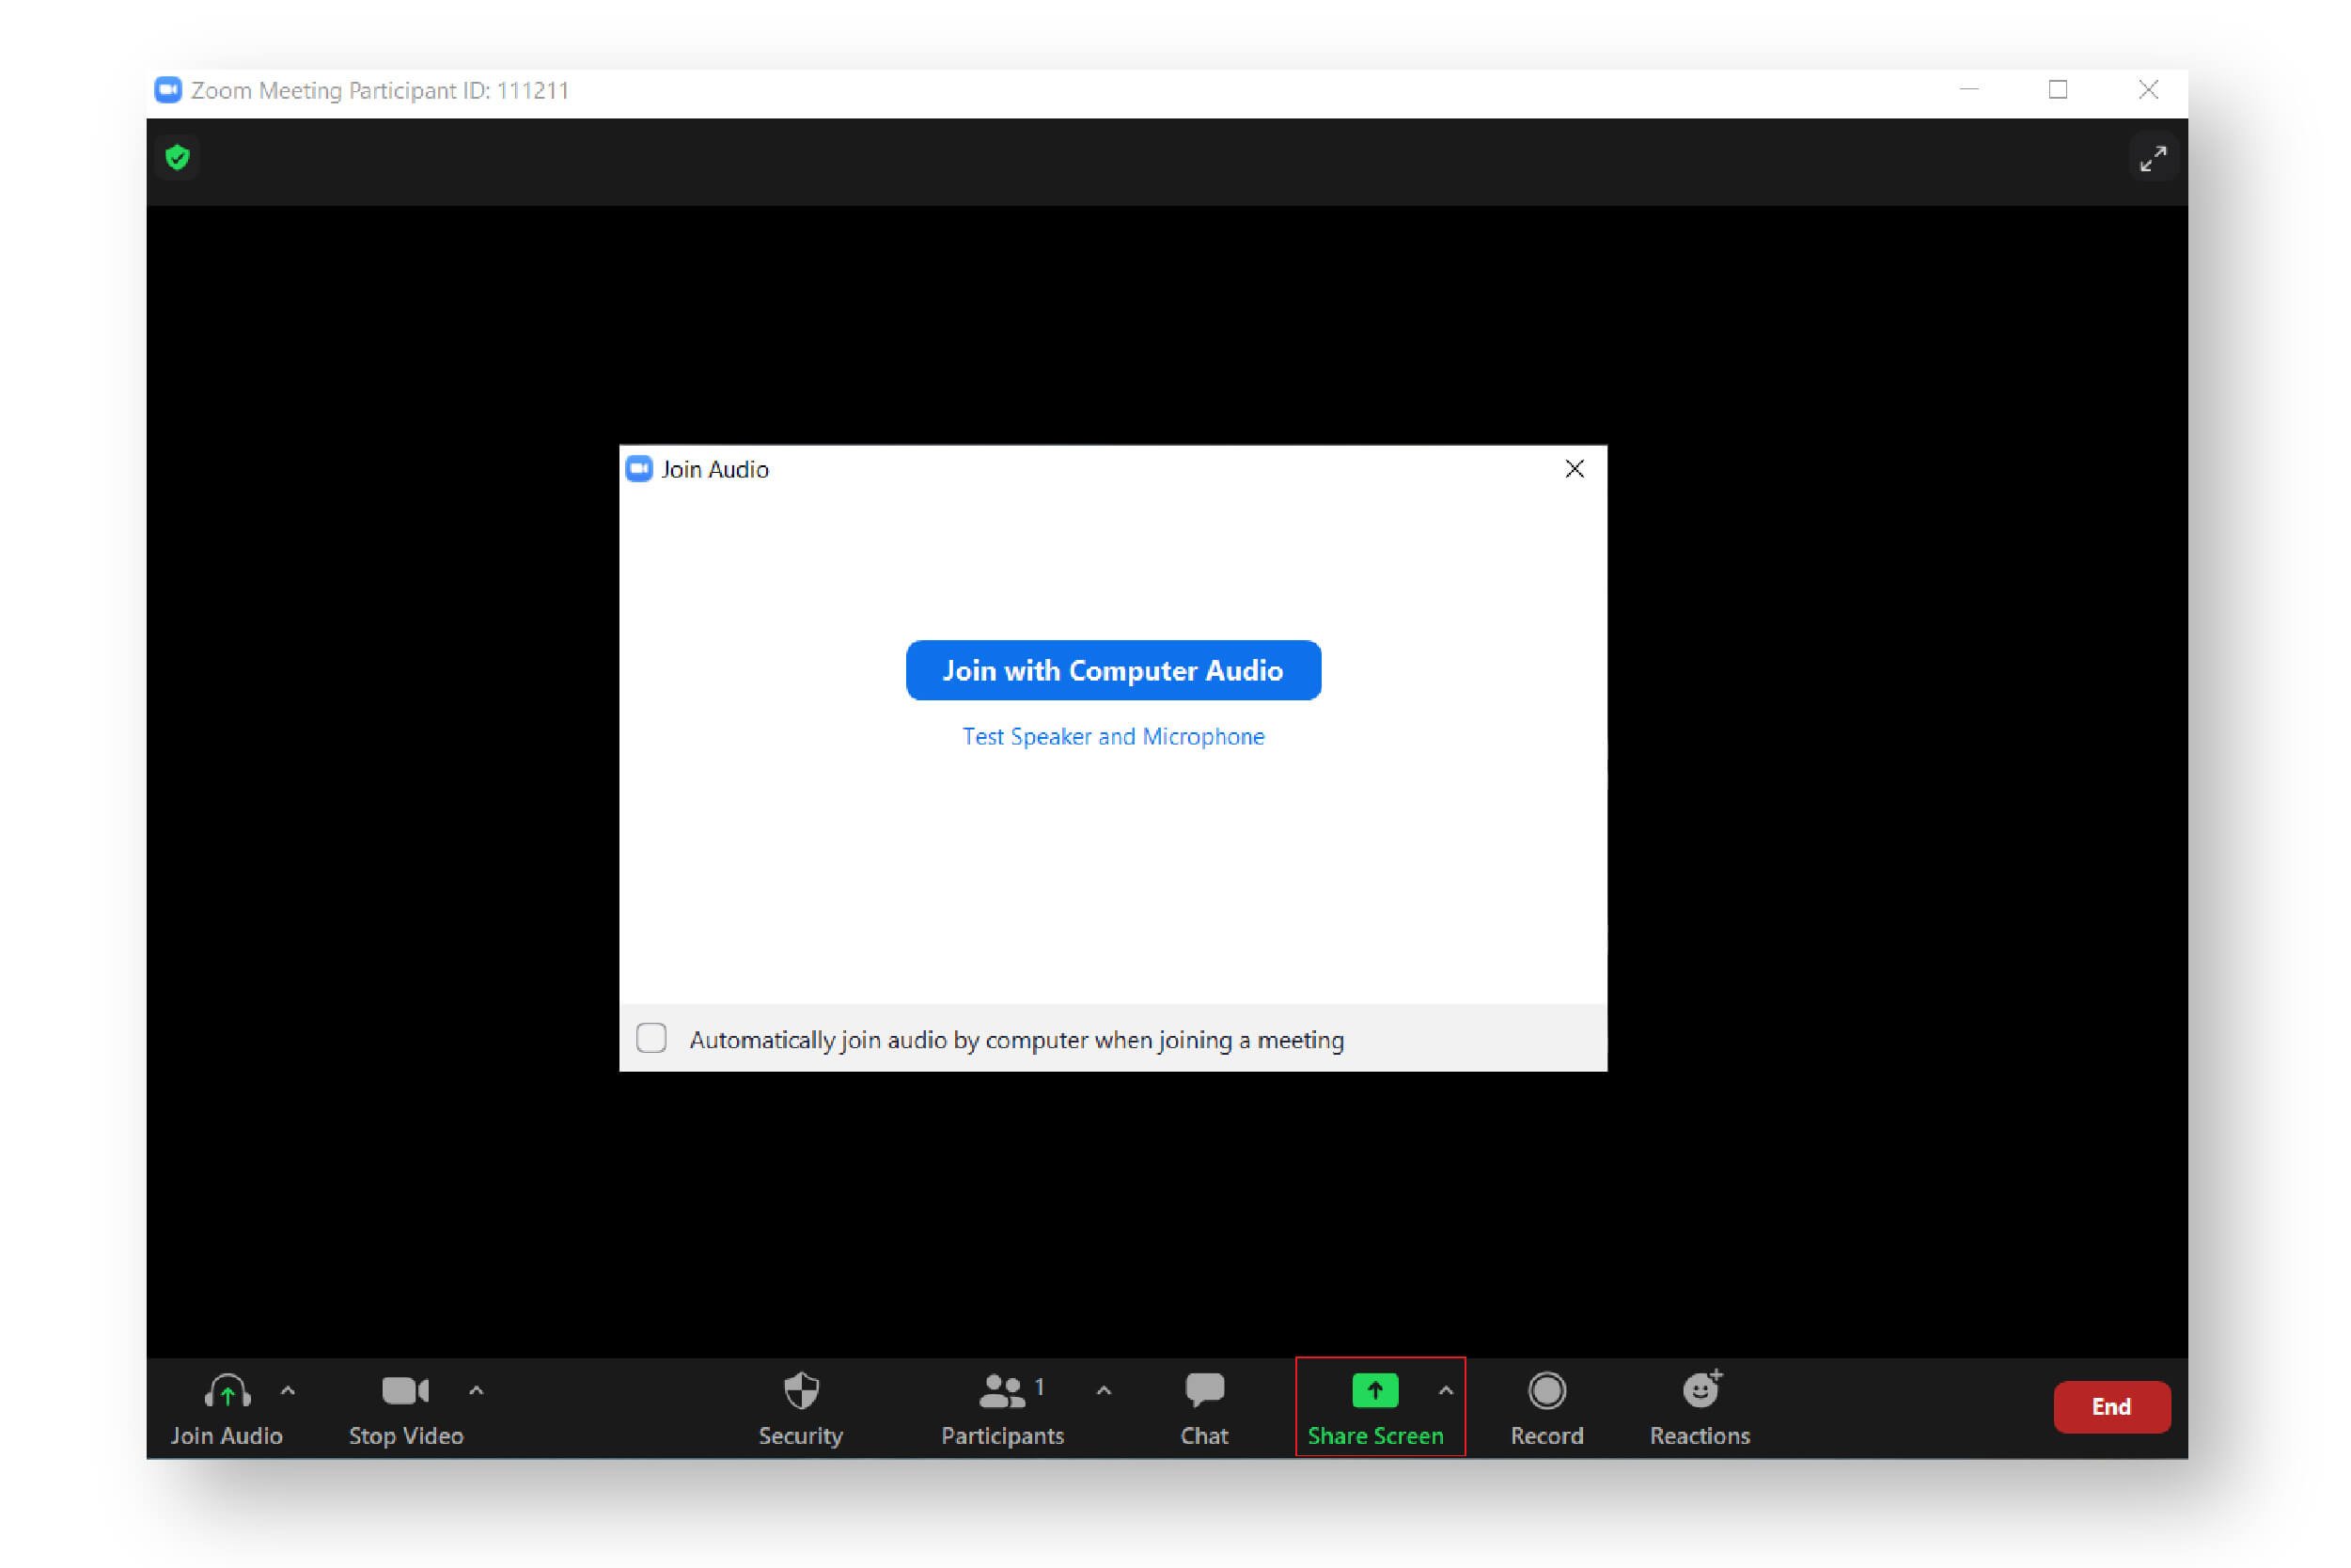
4. Click the “Share Screen” button/option in the video conferencing app.
NOTE: You can also choose to click “New Meeting” to start your own meeting before clicking “Share Screen”.
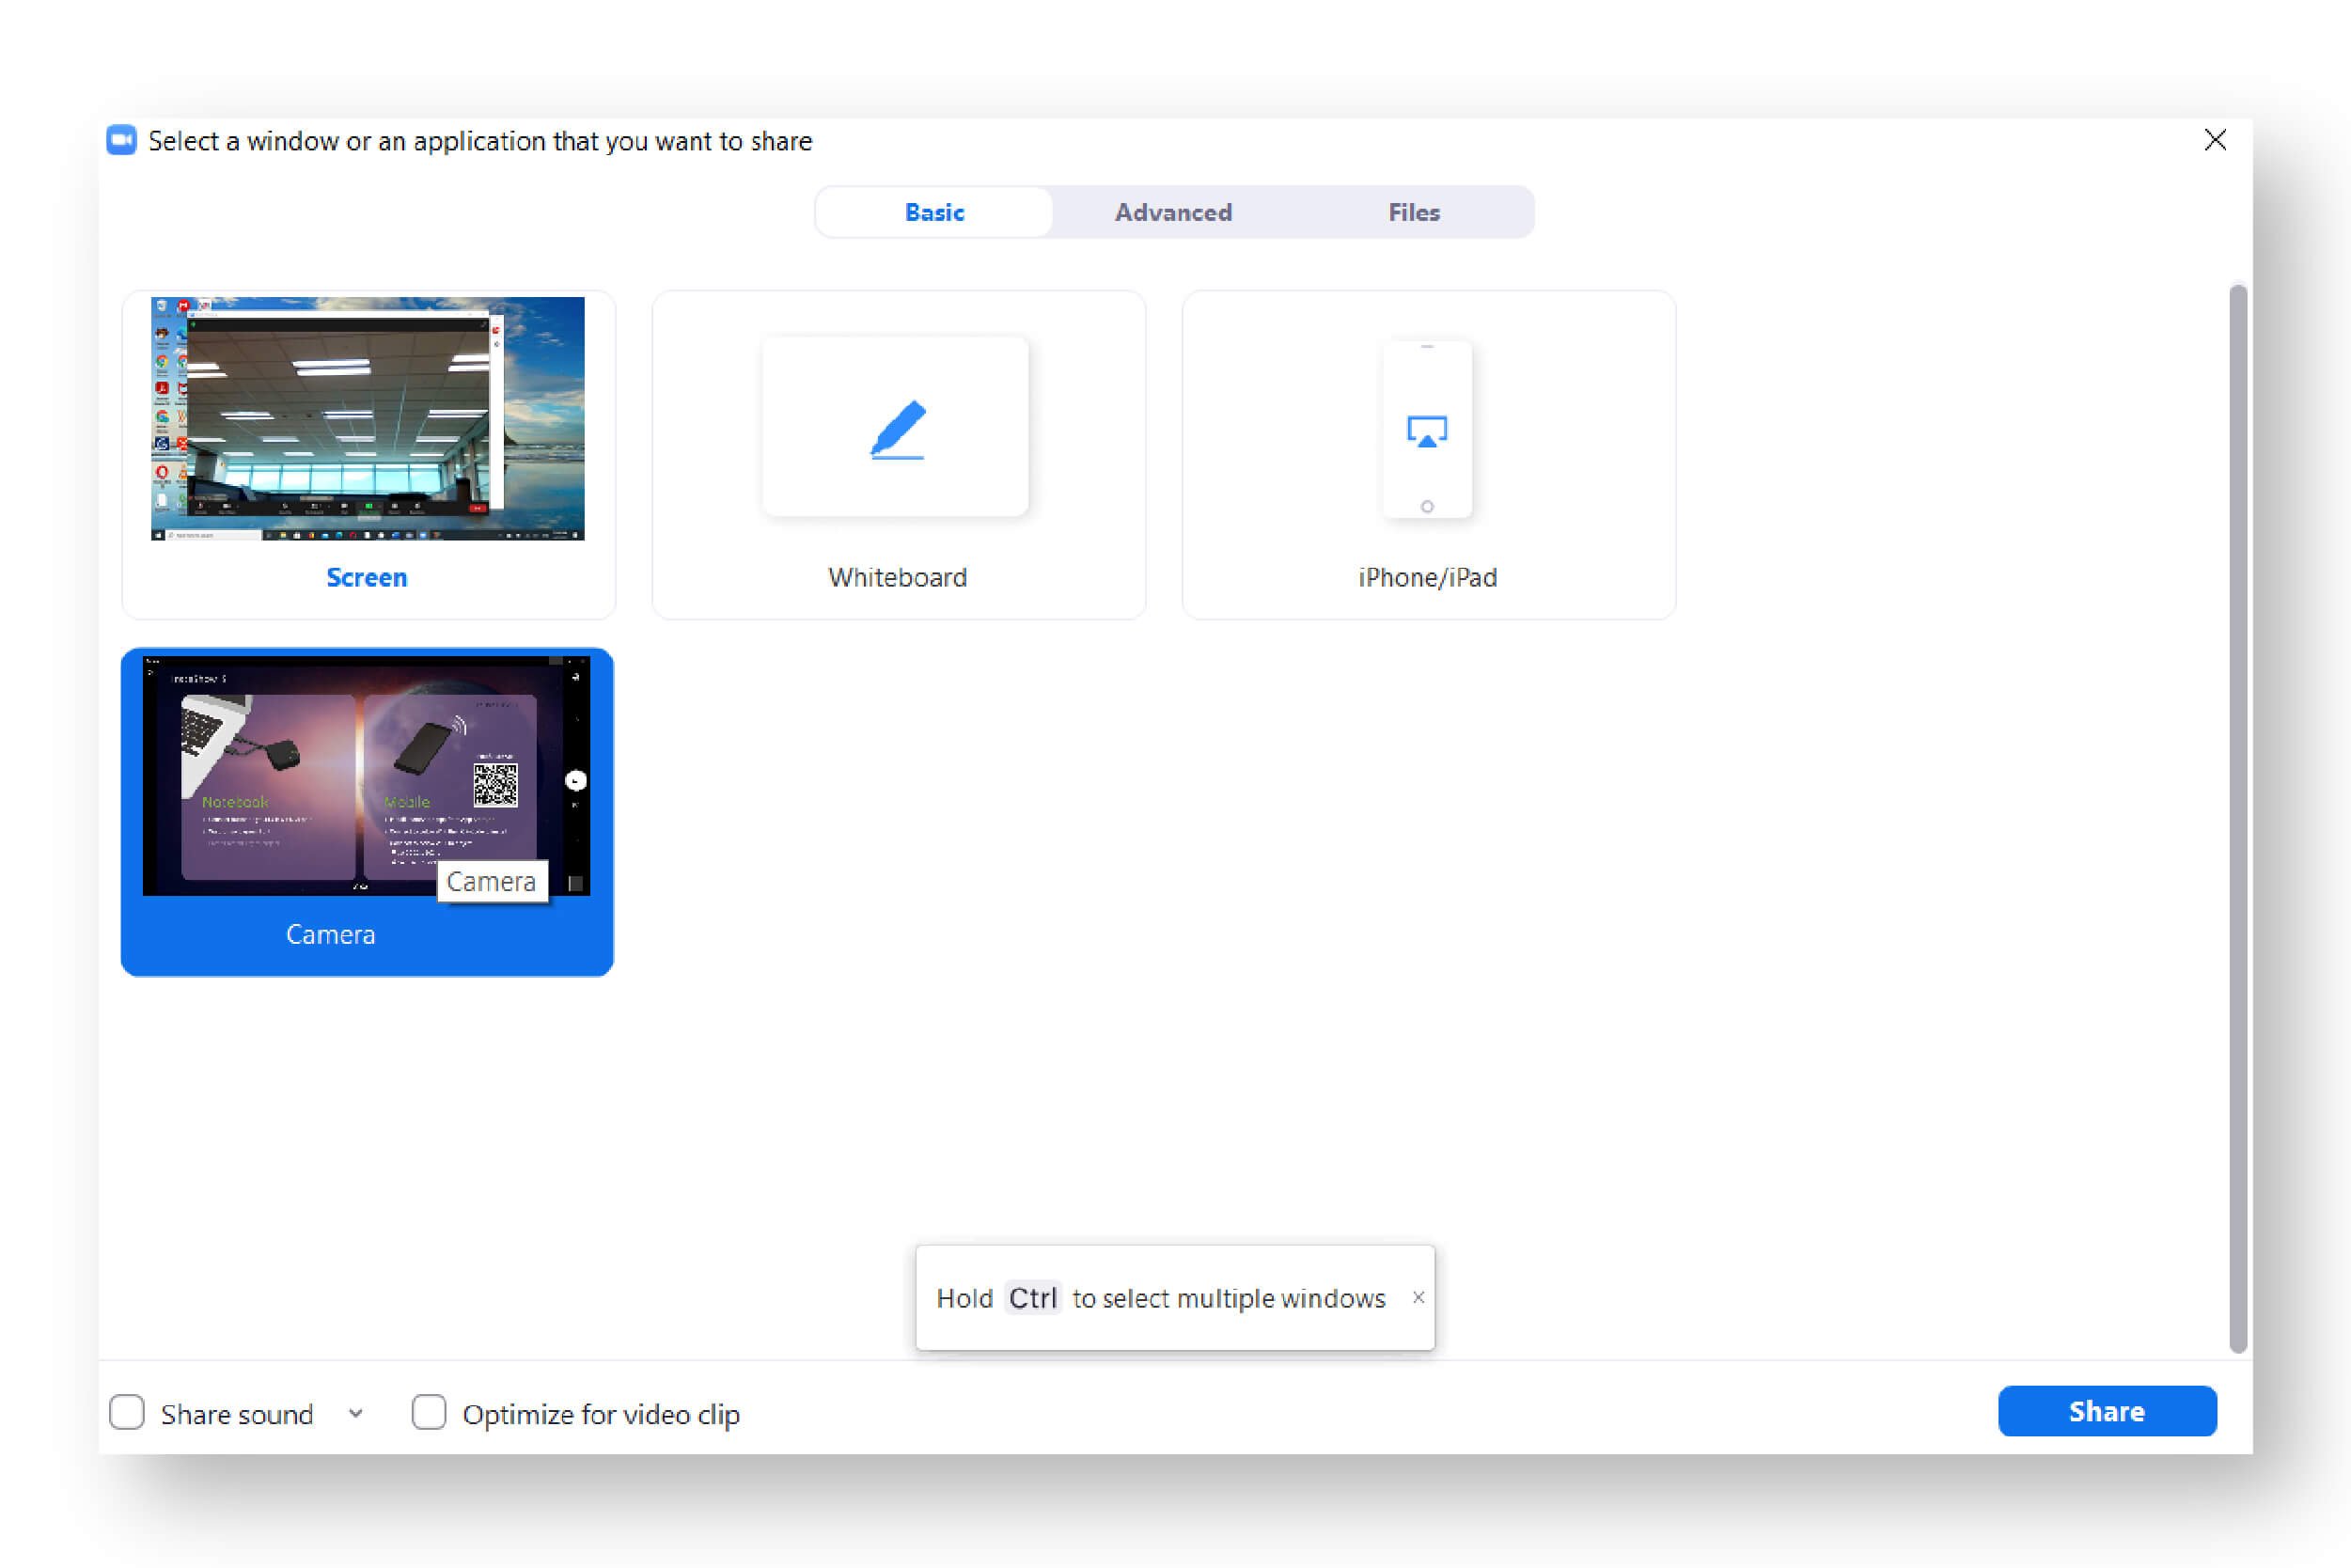
5. Select “Camera” (or the option that shows the InstaShow® home screen) in the share screen menu.
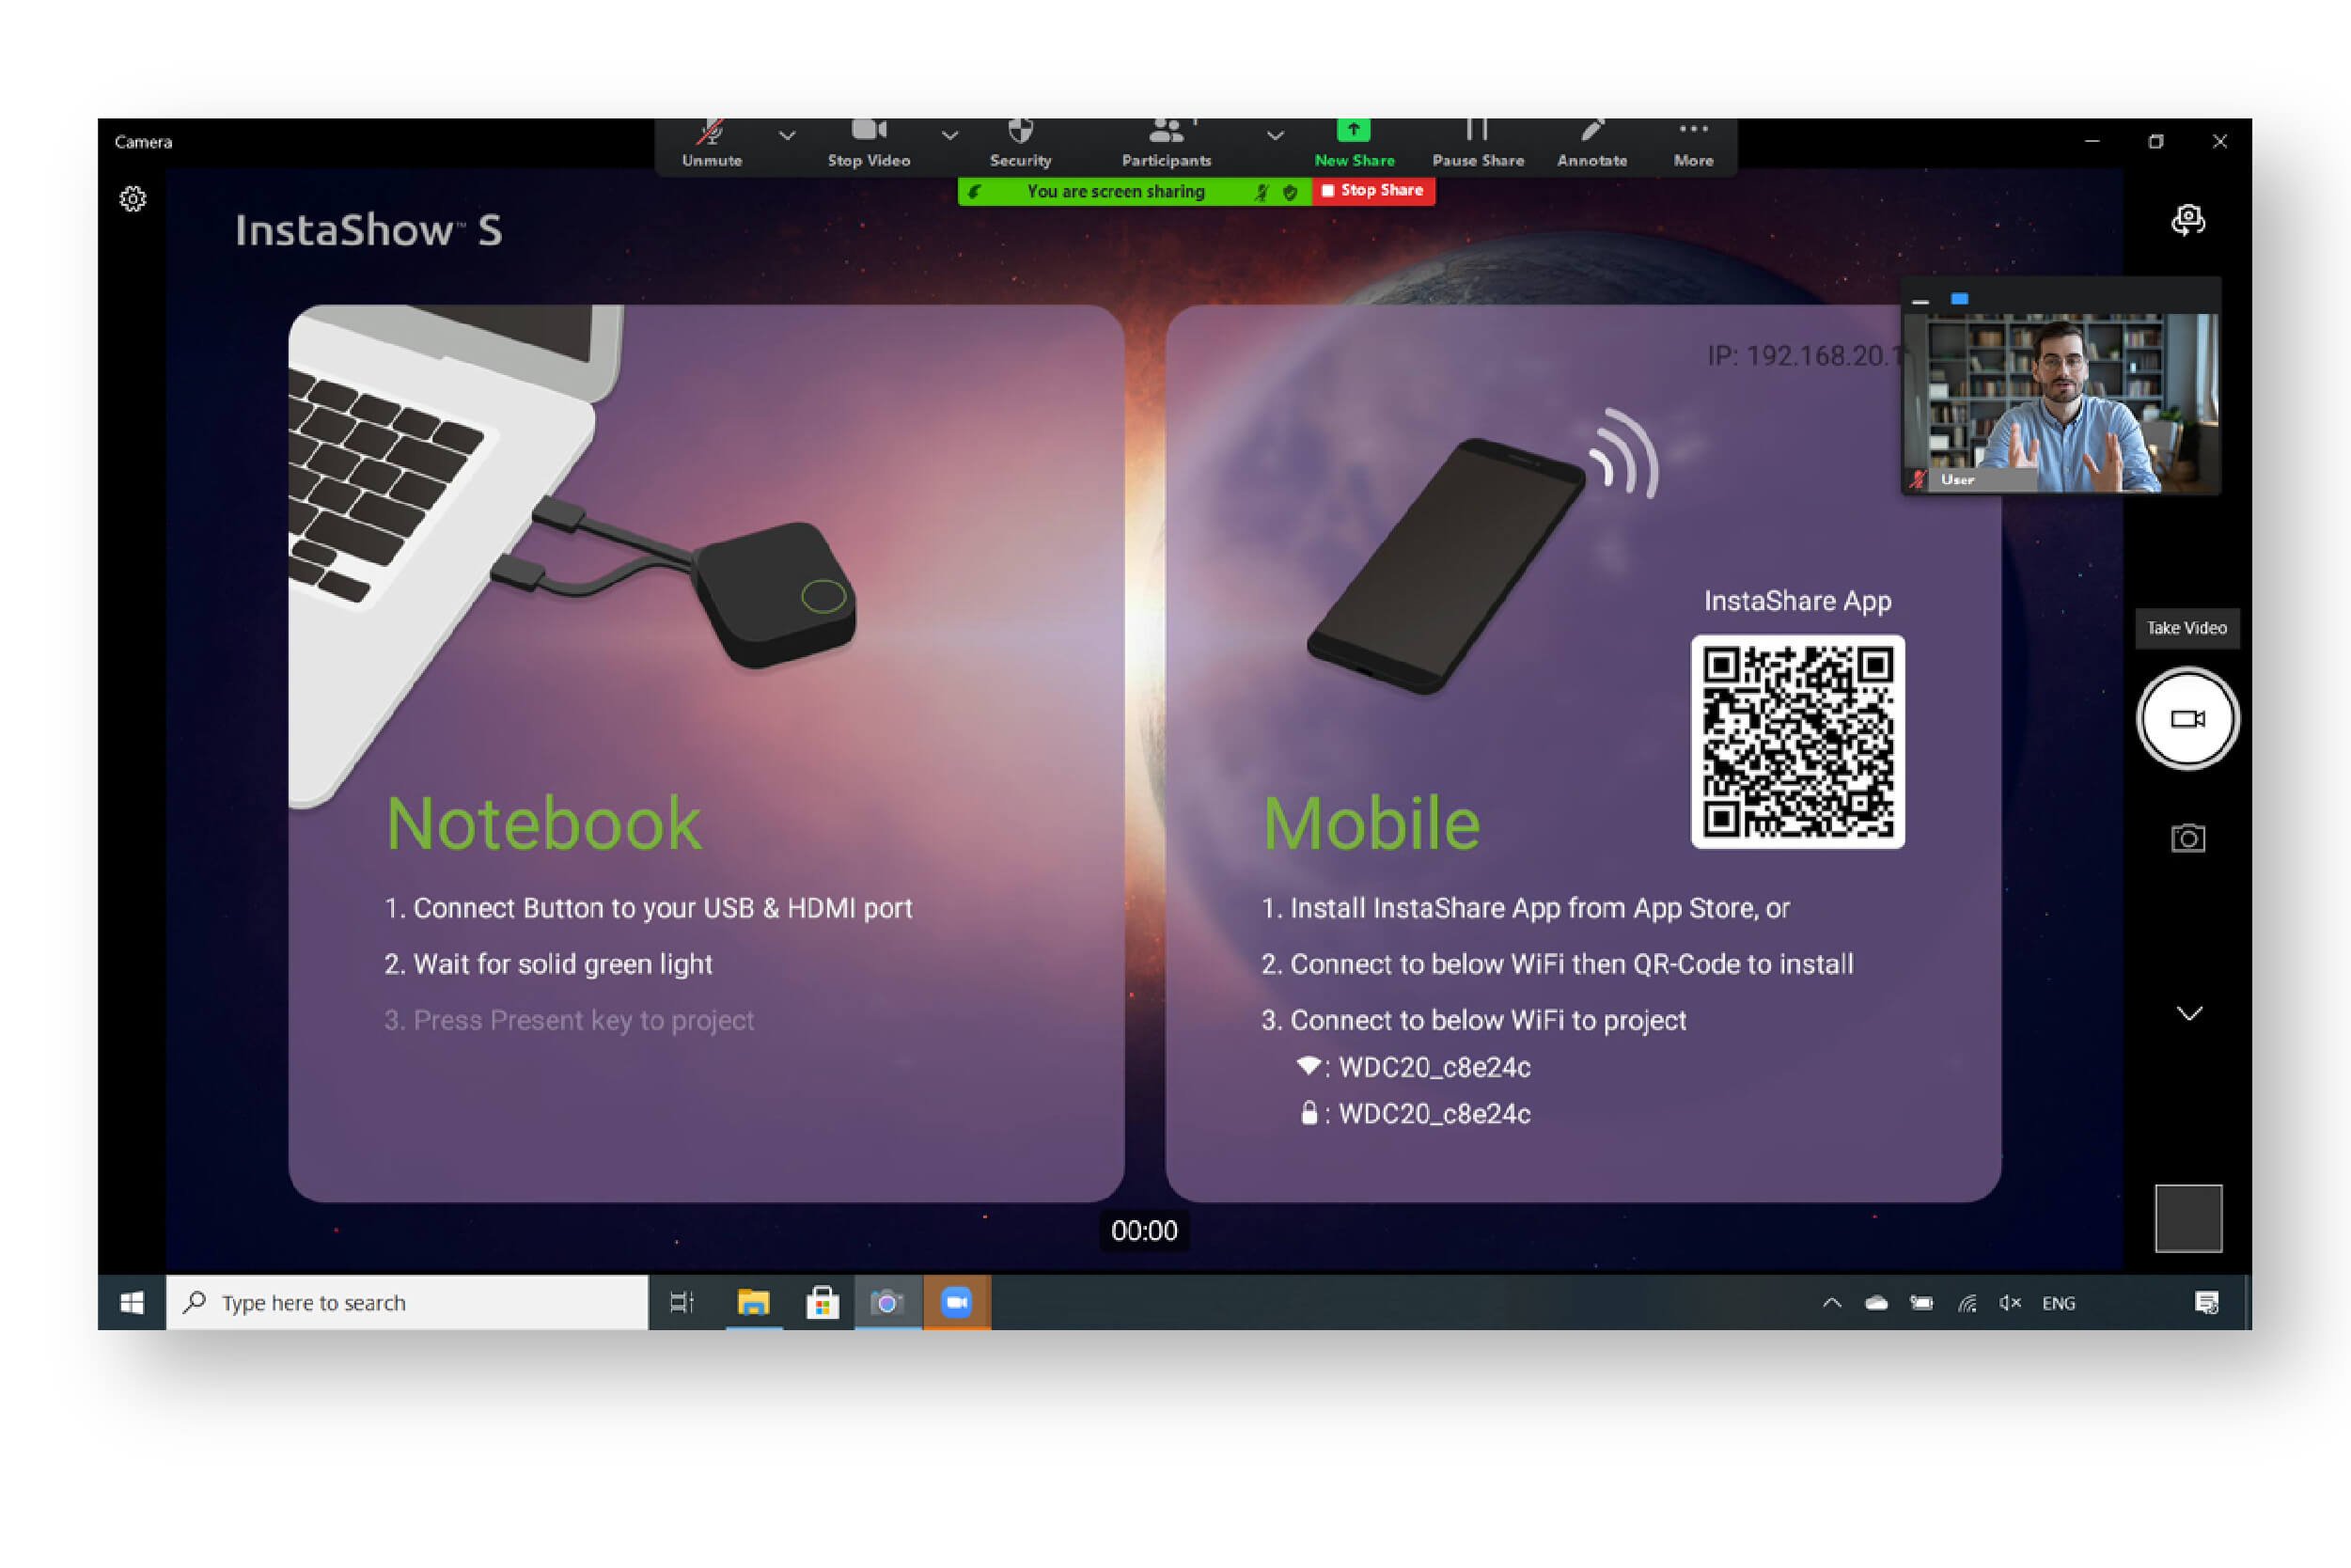
[Optional] Select the video broadcast option in the video conferencing app and then select the external webcam to broadcast a live view of the conference room.
After you have finished all the steps above, you’re ready to go. Connect an InstaShow® button to the PC of any participants who want to share presentation materials directly from their PC.
*NOTE: Video files shared by participants using an InstaShow® button will not broadcast audio.
Related articles
-
Trends & Knowledge
Tech That Helps Us Get Back to the Office Safely
2020.11.15 -
Trends & Knowledge
How Adding Wireless Presentation Systems Enhances Your Unified Communications
2021.03.30 -
Trends & Knowledge
Business Projector Wireless and Smart Technology Buying Guide
Smart and wireless features of good business projectors give you the best return on your investment. Here's a guide on smart capabilities like wireless connectivity, screen mirroring and cloud storage.
2021.06.08
