

A: No, InstaShow® ensures a high-quality wireless transfer without having to be connected to the internet. The receiver you receive and the two buttons work independently. You have to connect the receiver to your output device and an InstaShow® button to your notebook. As soon as the connection is made (approx. 20 seconds), you can start the wireless transfer by pressing once on the button.
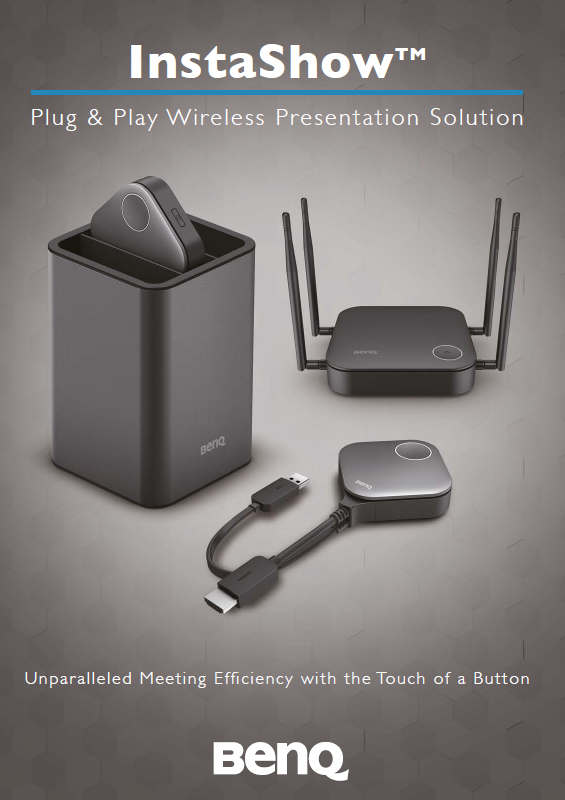
A: InstaShow® is a complete wireless HDMI hardware solution which does not require any software to be installed or any drivers and is, therefore, perfect for use within businesses.
A: Unlike other wireless end devices, the USB connection from InstaShow® only serves to provide power to the device. All content and data are transferred over the HDMI port. This not only ensures the highest data security in the business, but also guarantees that the image quality remains the same during the transfer, without compromising or distorting the display.
A: Port 4352
A: Port 8000
A: The P95–P97 series use the standard RS232 cable.
A: Two additional, longer USB cables (15/80 cm) are included in the box.
A: HDMI 1.4
A:
A: Yes, you can use InstaShow® without Wi-Fi.
A: No, the Wi-Fi fields in the USA and the EU are different under the law. Please use InstaShow® in areas with the same Wi-Fi field.
A: Any device with a HDMI connection, e.g. laptops (Windows, MAC, Chrome), PS4, Blu-Ray player, DVD player, etc.
A: There is a maximum distance of 8 m between the InstaShow® Button and InstaShow® Host.
A: Error code 006 means that both devices are not connected to the same Wi-Fi network. If you have problems, please contact your local BenQ Call Centre.
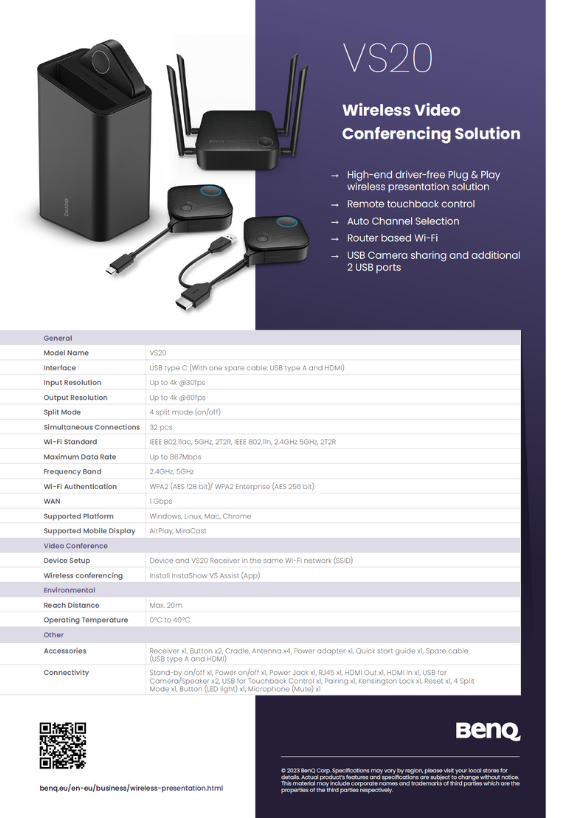
A: To get the InstaShow® VS20 set up, the IT staff only has to:
1. Connect the InstaShow® VS20 Receiver:
2. Download and install the ''InstaShow® VS Assist'' app on the laptop/PC
A: When everything is set up, get a hybrid meeting up and running by having the host laptop/PC:
1. Plug in an InstaShow® Button.
2. Connect to InstaShow®’s Wi-Fi network (via the on-screen information).
3. Launch the InstaShow® VS Assist app.
4. Launch the videoconferencing app and set both the speaker and microphone source in the app to “InstaShow® Audio”.
5. Set the camera source in the video conferencing app to “InstaShow® Camera”.
A: This type of connection is often used when the InstaShow® Host is fitted on the ceiling. It is not easy to press the connection button of the InstaShow® Host when the device is on the ceiling. You can also connect the InstaShow® Button and the InstaShow® Host using web management.
A: If you use a control panel/console, provide the BenQ RS232 command to the manufacturer of the control panel/console and request that they input the desired BenQ commands in the control panel/console.
A: Please activate the “HDMI standby mode”. The InstaShow® Host can be automatically switched on and off by copying the state of the display device (projector/IFP, etc.) if both are connected with a HDMI cable. The standard setting for “HDMI standby mode” is ON.
A: Go into web management and click on the WAN button. Here you can see the standard WAN-IP address of the InstaShow® Host. Select the static IP on the WAN connection type, change the WAN-IP address and click on use.
A:
A: Hold the On/Off button on the InstaShow® Host for approximately one second.
A:
1. The InstaShow® Host will automatically wake when the display device is on.
2. Or you can press the On/Off button on the InstaShow® Host.
A:
A: Place the InstaShow® Host close to the display device and connect the HDMI and power cord in order to create the signal connection. In order to provide the InstaShow® Host with power, select one of the following options.
A:
A: The InstaShow® Host is ready when the LED is green. Furthermore, the screen “Guide Screen” displays before the InstaShow® Button is ready. Further information about the Guide Screen can be found in the FAQ “What is the Guide Screen?”.


© 2023 BenQ - all rights reserved. Terms of use: Imprint and privacy statement & Cookies | About BenQ